Welcome back to Inside Bell's Brain! This week's back-to-school linky is about classroom decor, so not only do you get the glimpse "inside Bell's brain," but you also get a glimpse inside Bell's room this week! Keep in mind that I'm still frantically working to get my room ready for back to school this year, so there are a lot of projects in progress! I hope to revisit this post with a few more pictures in the days to come, but here's what I have so far! (I will be returning to this post tonight to add some additional photos after I visit my classroom today, so please come back again tomorrow to check out the updates.)
My Welcome Board
There is a bulletin board just outside my classroom that I use as a welcome board. Leadership is a strong value at the school where I teach, so my catchphrase is "'Owl' grow up to be a leader!" I
originally had the idea from a similar tree I saw on Pinterest. I cut lots of circles on my Cricut from several different patterned papers and stacked them in various color combinations until I found what I liked best. Then
I sketched the trunk on black posterboard and cut it out by hand. I
used scrunched tissue paper in alternating lime green and dark green
colors for the grass to give it another three dimensional effect. Each of my students has his or her own owl on the board. (Student names on the owl bellies have been blurred.) I was a little overly-ambitious when I first designed the board and hand-made all the owls from my Cricut. (I did have some help making them though...thanks, Karla!) That took a LONG time and, since I wrote students' names with Sharpie, I realized that I wouldn't be able to reuse the owls! Oh, well...c'est la vie! That's when I invested in a pack of cute little owl cutouts, which I laminated and stick labels on them for student names.
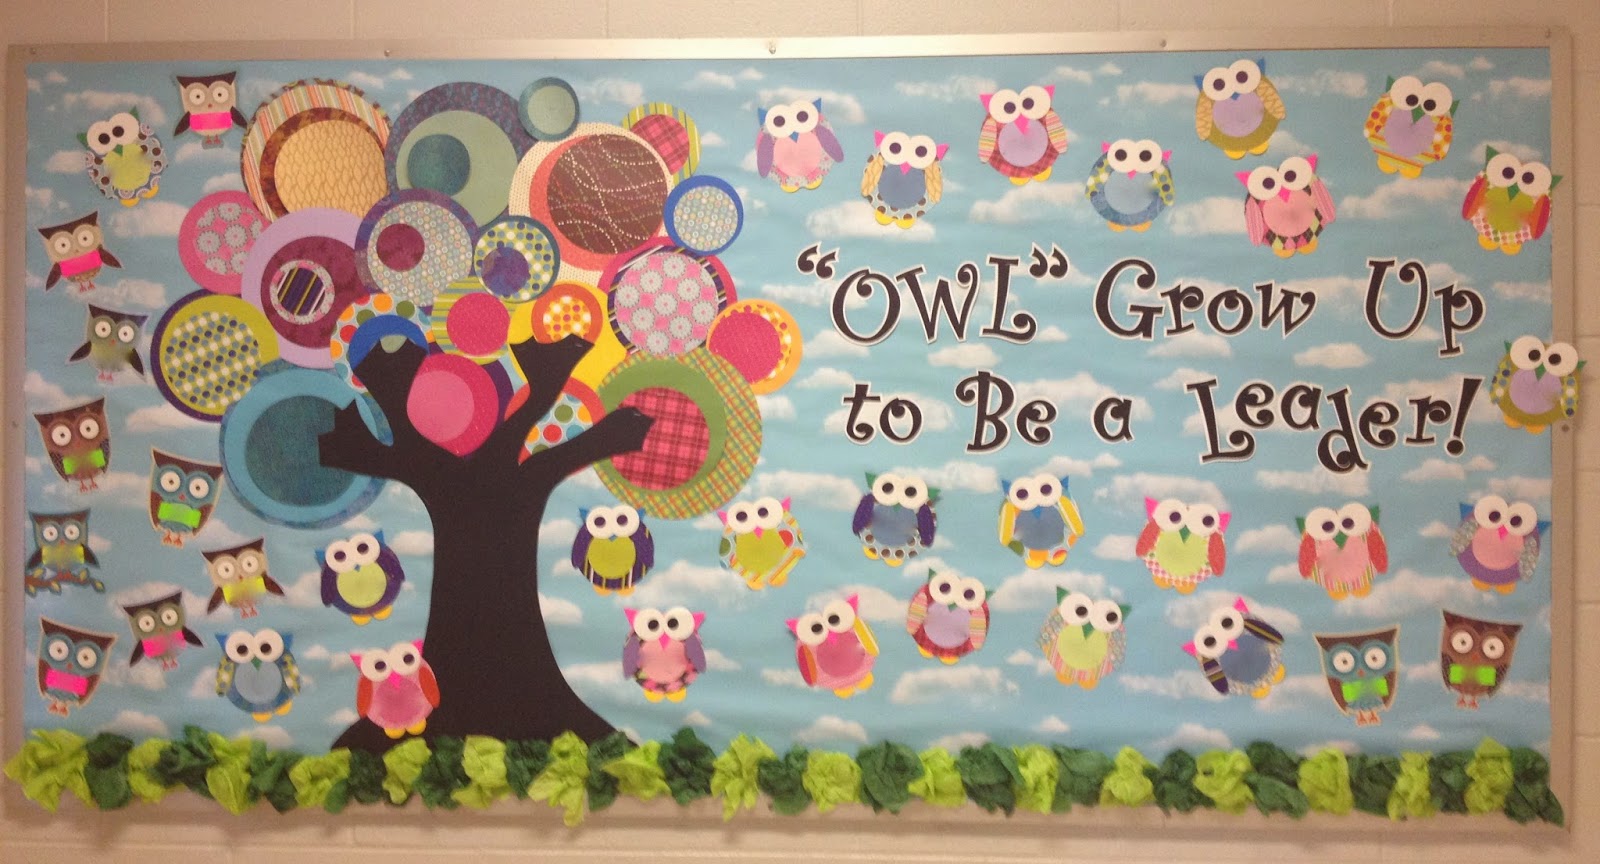 |
| Here's the completed board! I love the color it adds just outside my classroom. |
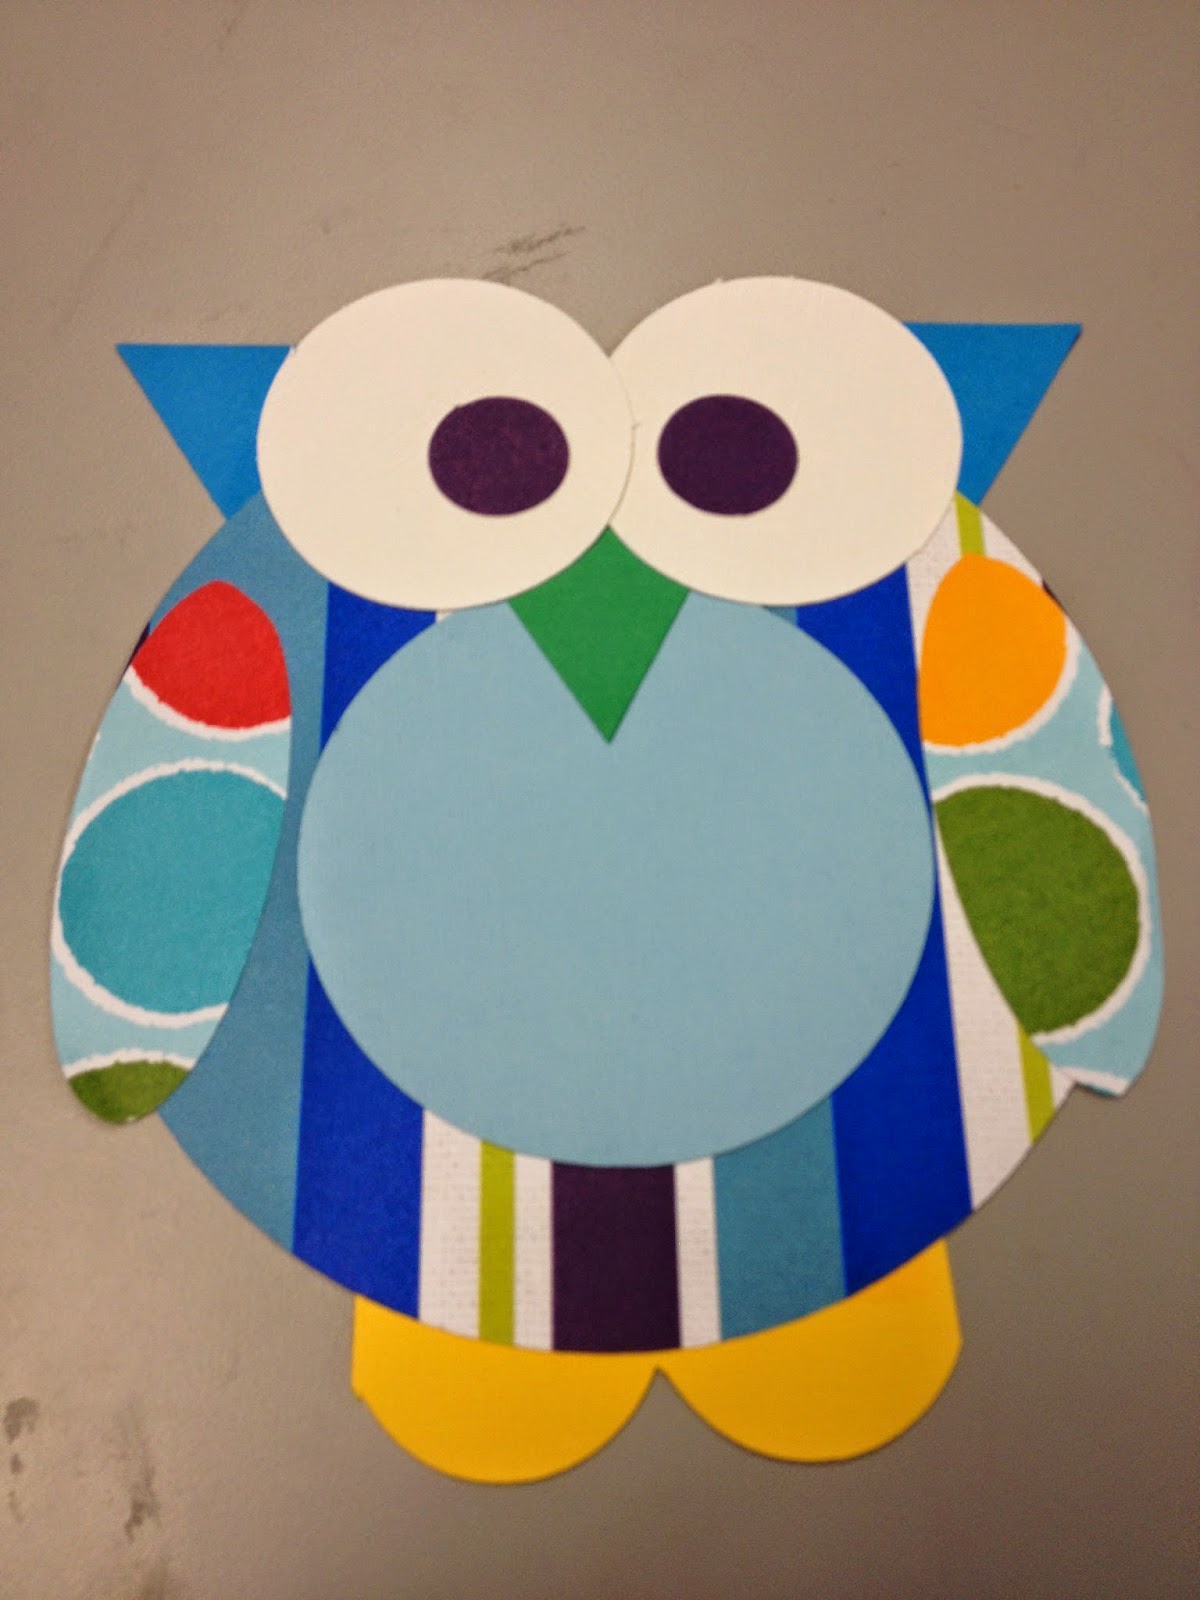 |
| This is the first round of owls...the ones that I made using my Cricut. I used one large and one small circle for the belly of my owl. I cut two more pairs of circles, one large white set and one small black set, for the eyes. I used triangles for the ears and beak. I added oblong shapes for two wings and part of a scalloped frame for the feet. Ta da! I love them, but they take a LONG time when you're making 25-30 for a group of students! |
My Door & My New Wreath
My door is still a work in progress. I had purple fabric up last year, but I decided to go with contact paper on my doors this year. It's easy to remove, but sticky enough that it stays up very well. My new wreath excites me the most though! (I also have to give a helper shout out to my friend Karen on this one!)
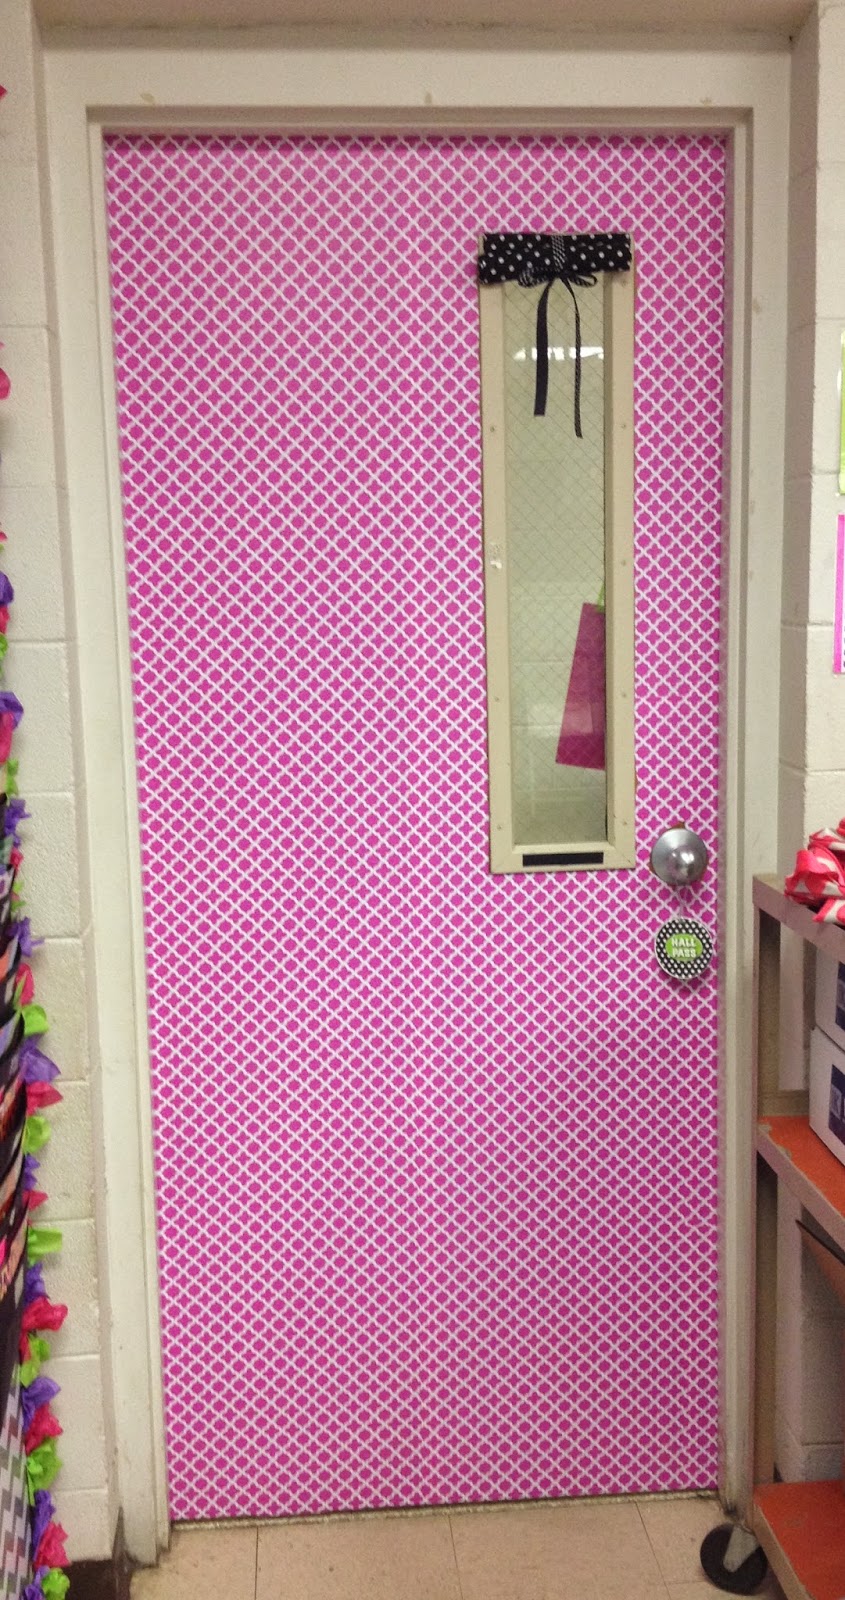
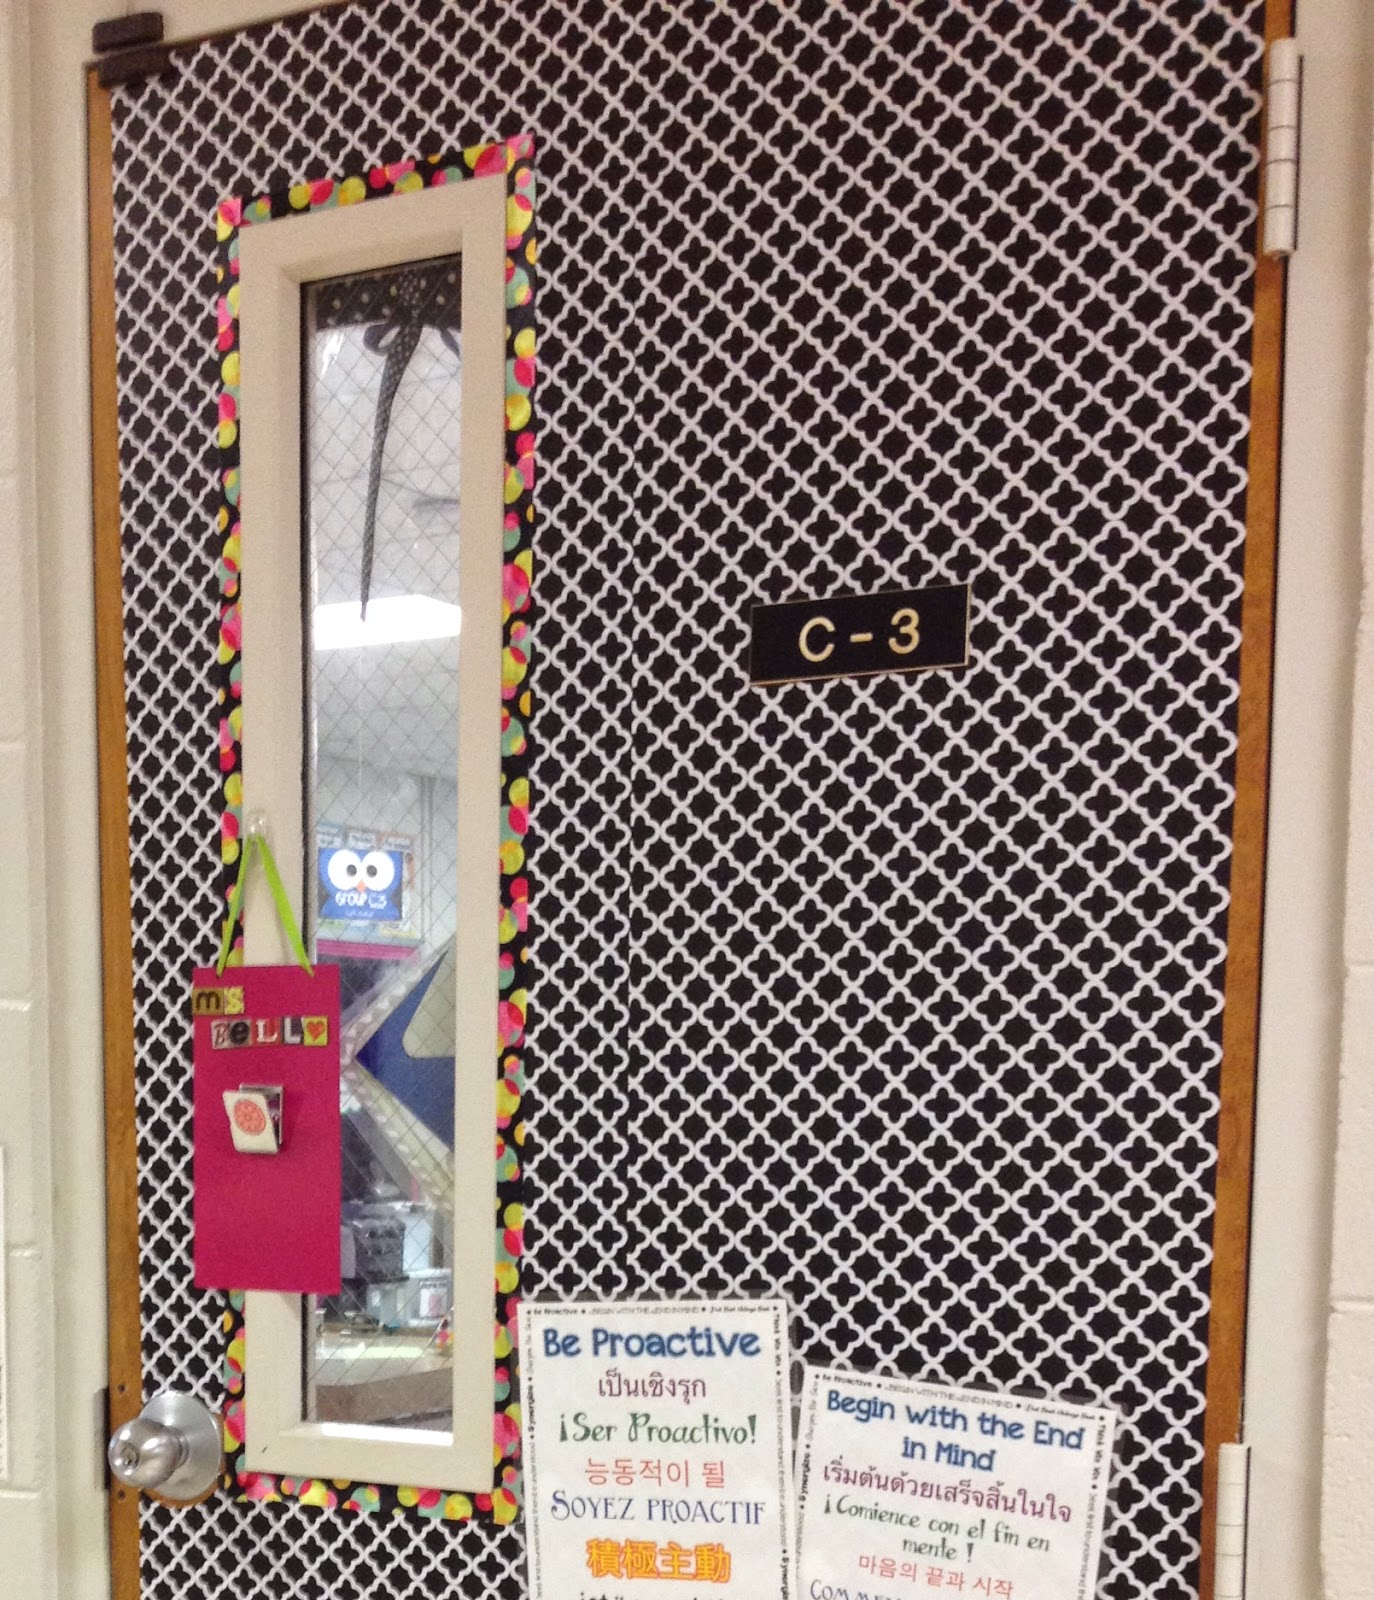 |
| A close-up of my classroom door. I haven't finished the border yet, but I have an idea for what I'm doing with it. |
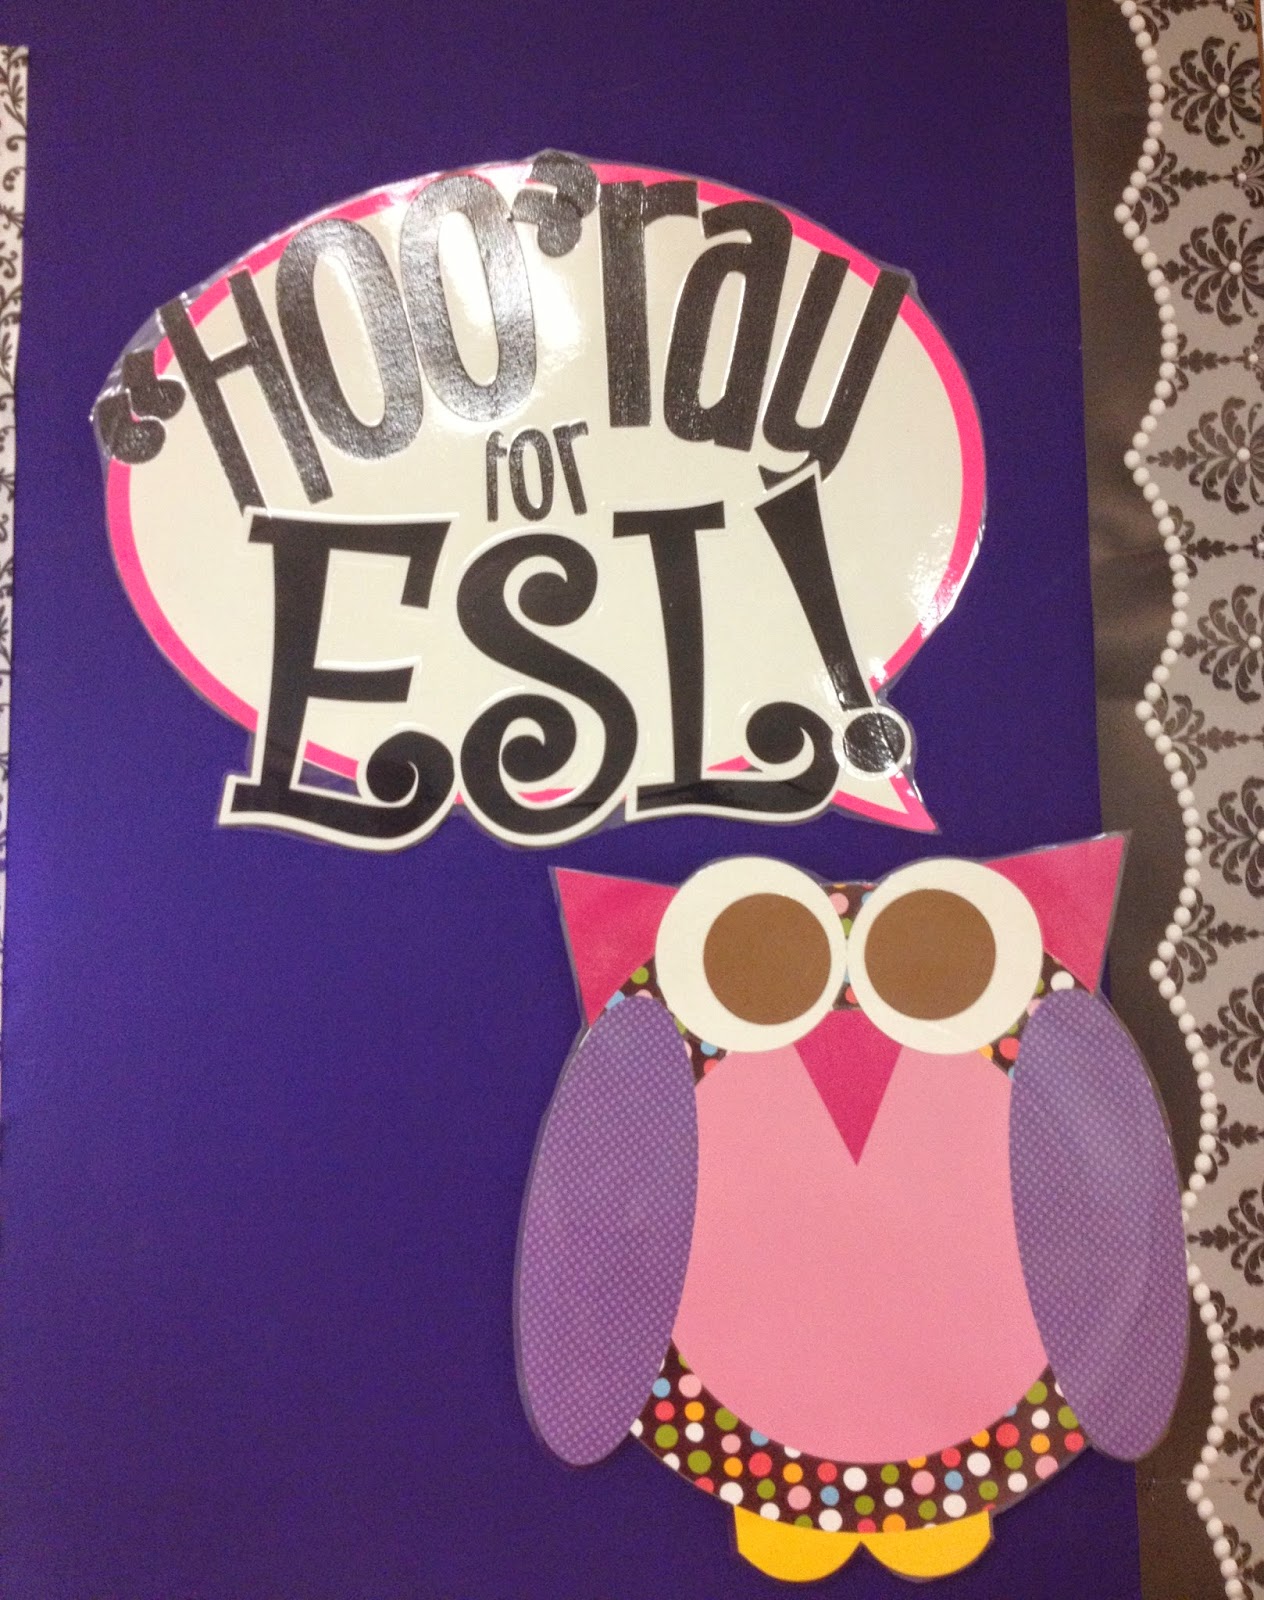 |
| This is a little glimpse of how my door used to look. This large owl is Ms. Bell's owl, and I'm shouting, "'Hoo'ray for ESL!" I was sad to see the purple go, but I think the new door design will be a more durable option. |
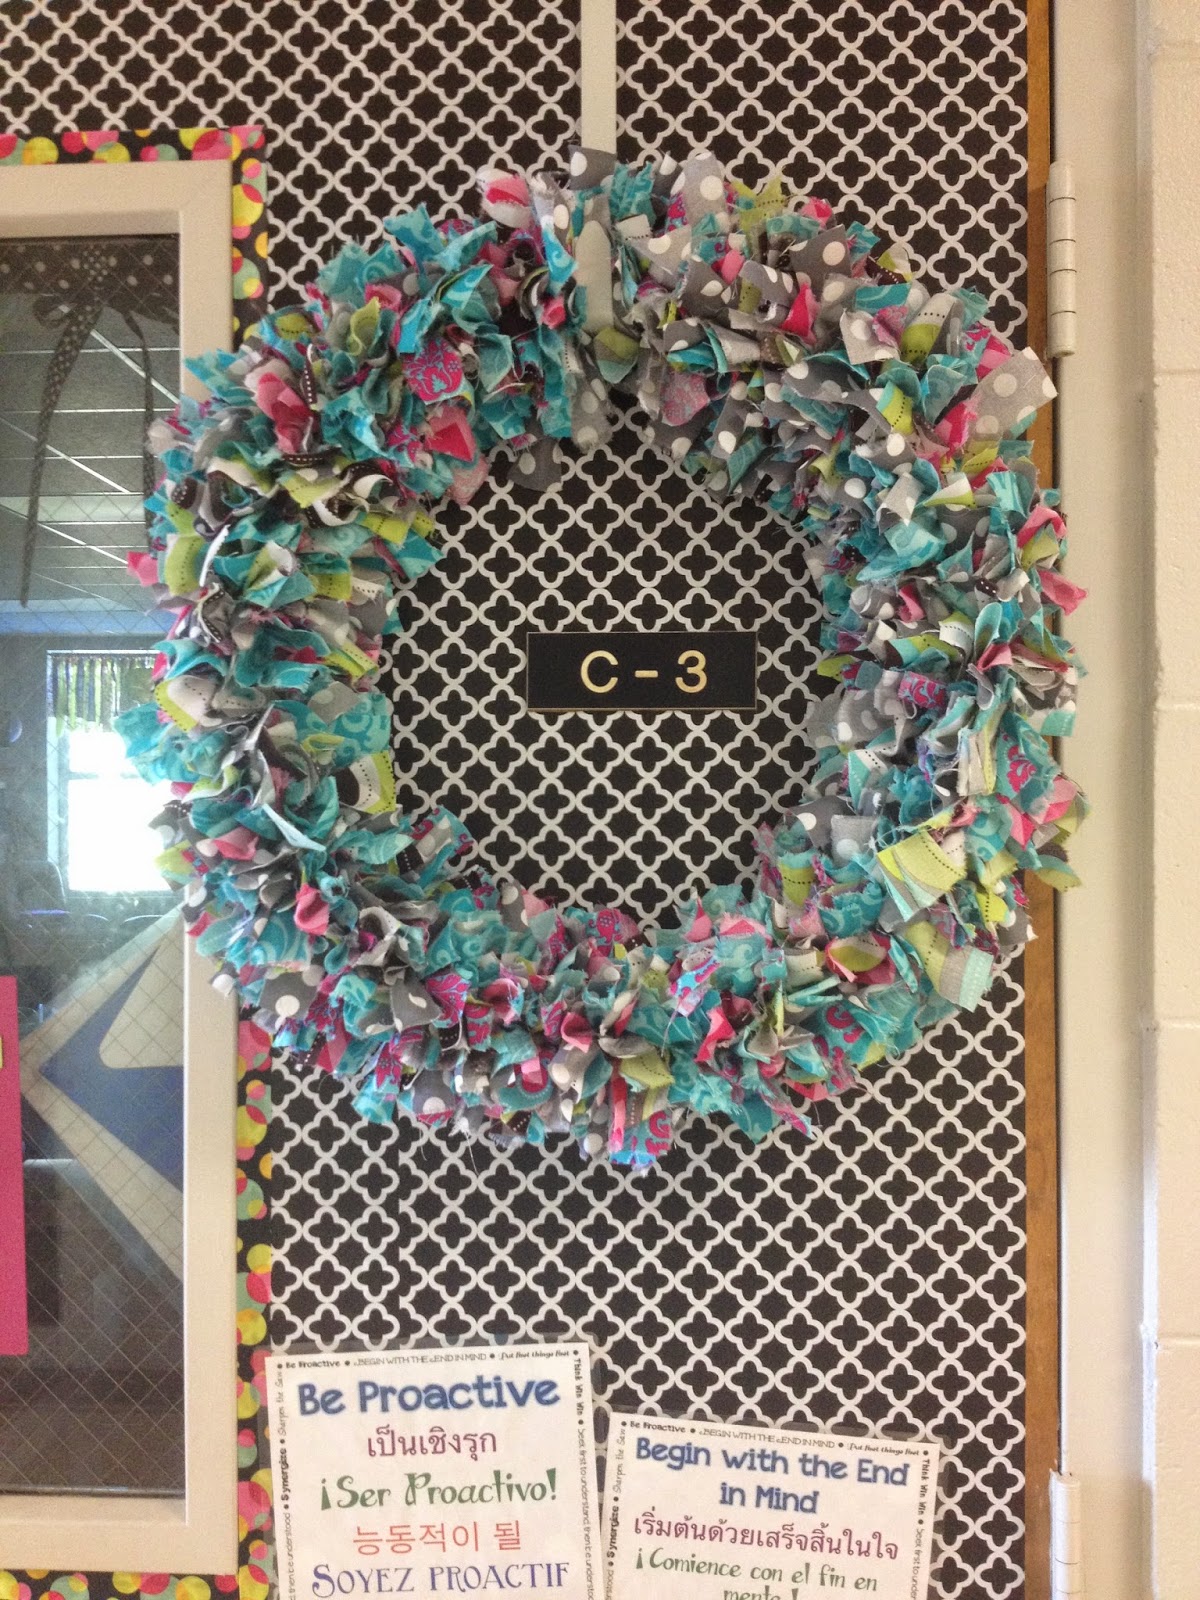.jpg) |
| This is what the finished product looks like hanging on my new classroom door. |
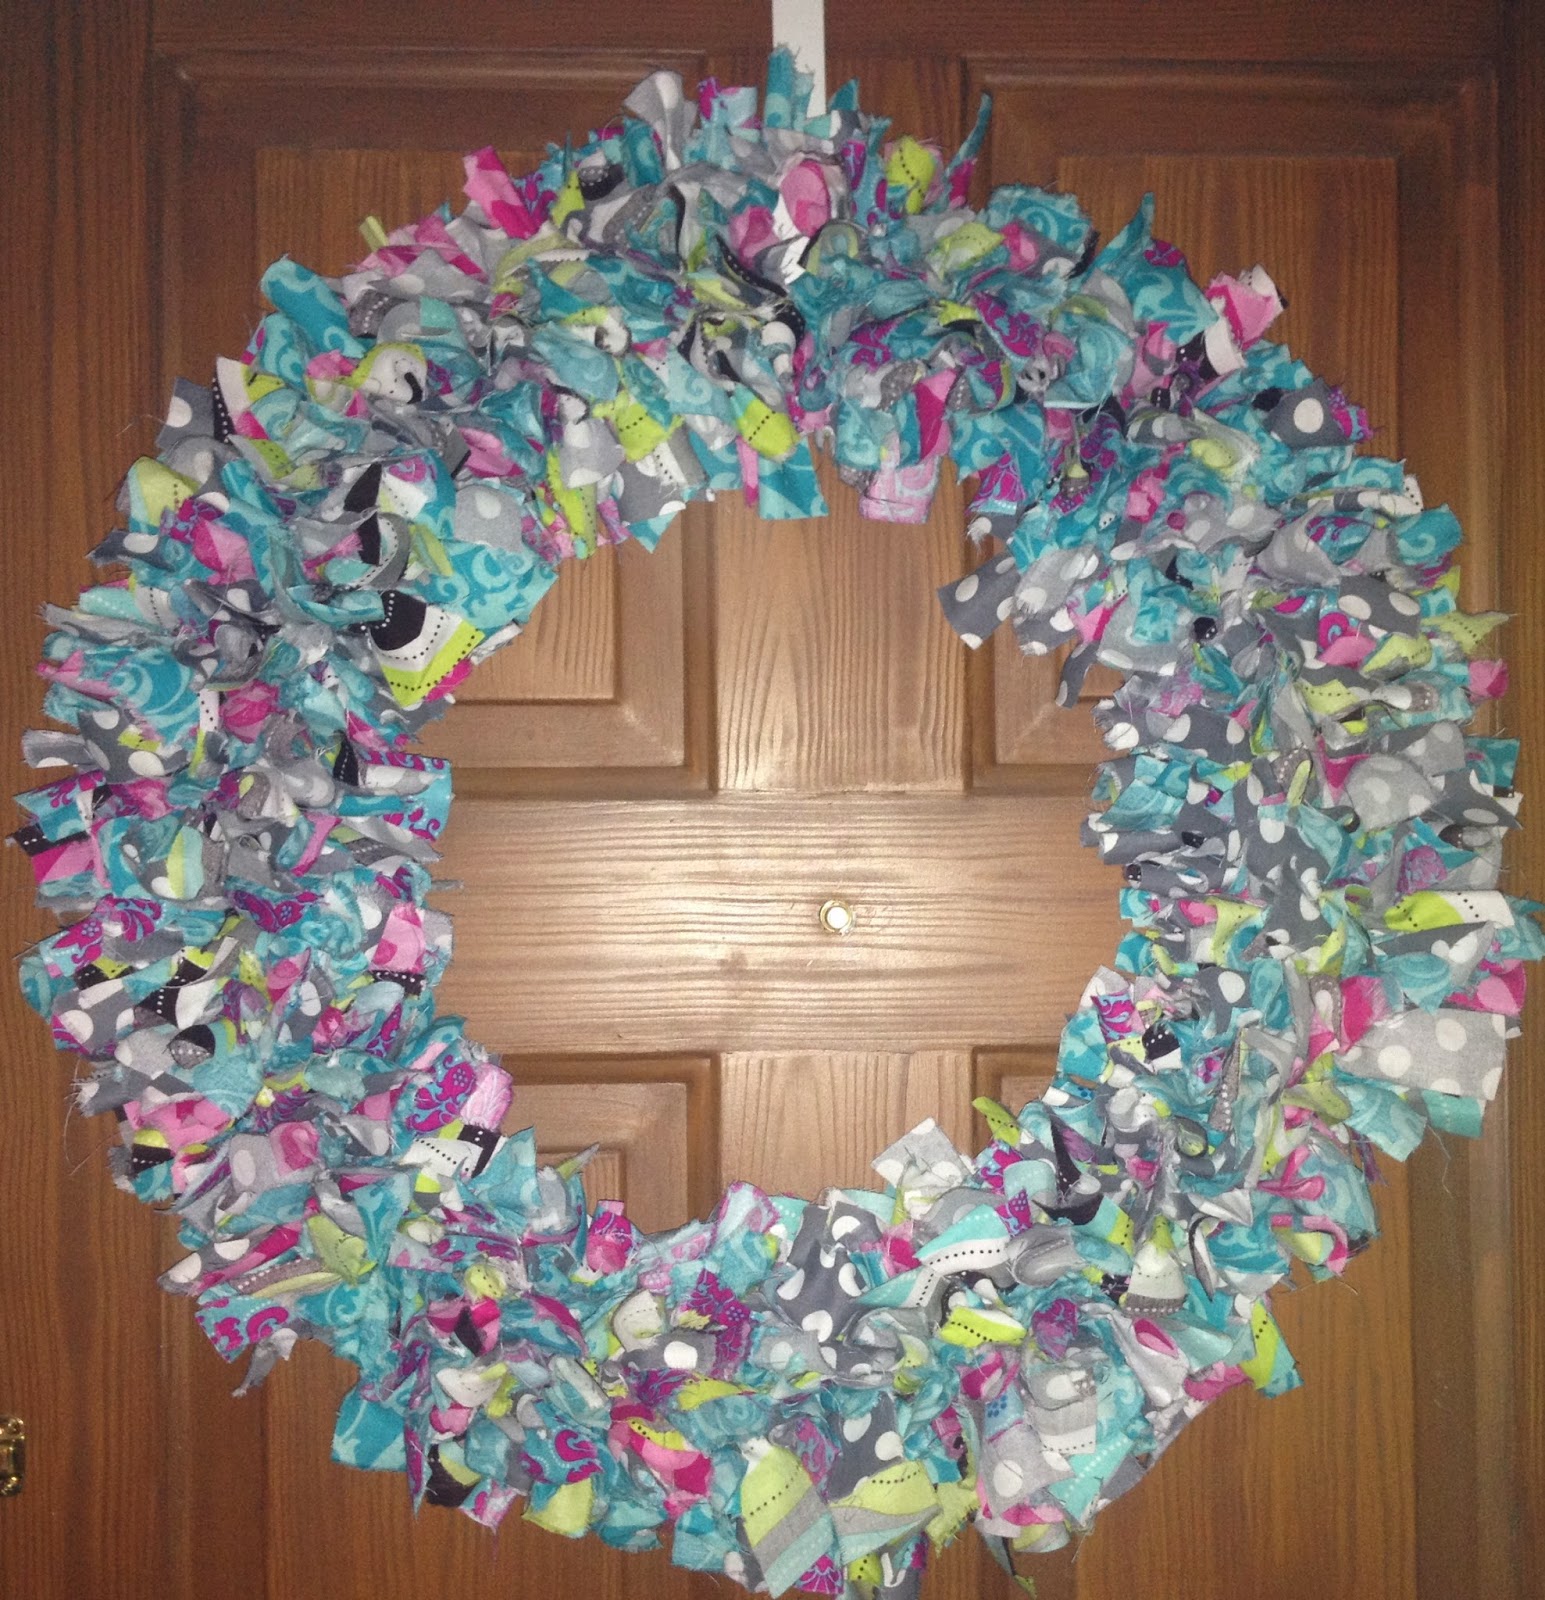 |
| Here's a close-up peek at the finished wreath hanging on my door at home. I LOVE the colors! |
 |
| This is the reverse side of my door. I'm probably going to hang another Filetastic from it in the empty space on the left, but I haven't totally made up my mind yet. I made my safety curtain by hot gluing fabric (instead of sewing) into the size that I needed for the curtain. Then I used Velcro to affix it. I hot glued the ribbon to the fabric to keep it tied in place when not in use. |
My VIP Wall
As a collaborative teacher, I have a lot of materials that I create, share, pass along, etc. to my co-teachers, so I needed a space that I could keep my desk cleared and still remember to share info with my colleagues. I created this VIP Wall on the side of one of my classroom closets. It was an unused wall space that had so much potential. So I covered it in contact paper, used tissue paper scrunches for border, and hung a Filetastic with a file folder with each teacher's name. That way, I can slip things into the teachers' files when I need to remember to give them something. It's right by my door, so I see it when I enter and exit...another plus: my room is by the bus dismissal location so teachers can pass by on their way back from dismissal to collect any other materials too. WIN-WIN!
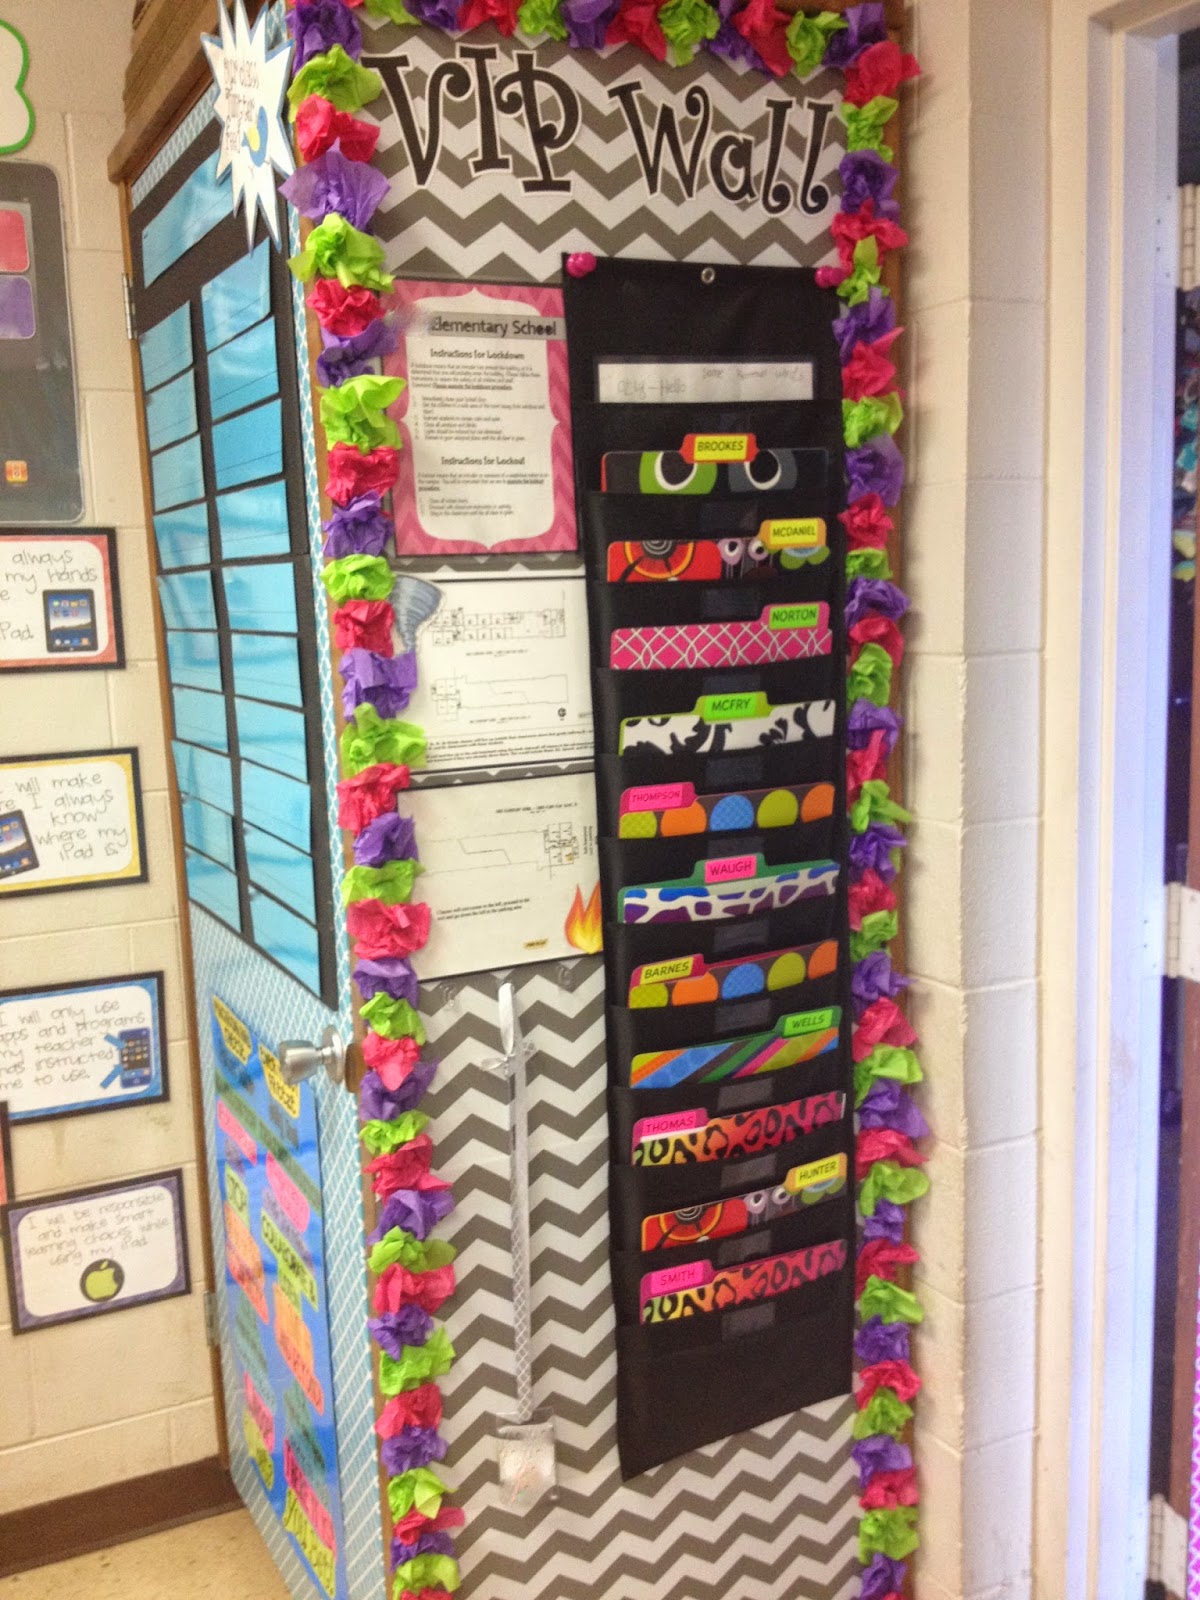.jpg) |
| My VIP Wall...the finished product! |
The iPad Wall
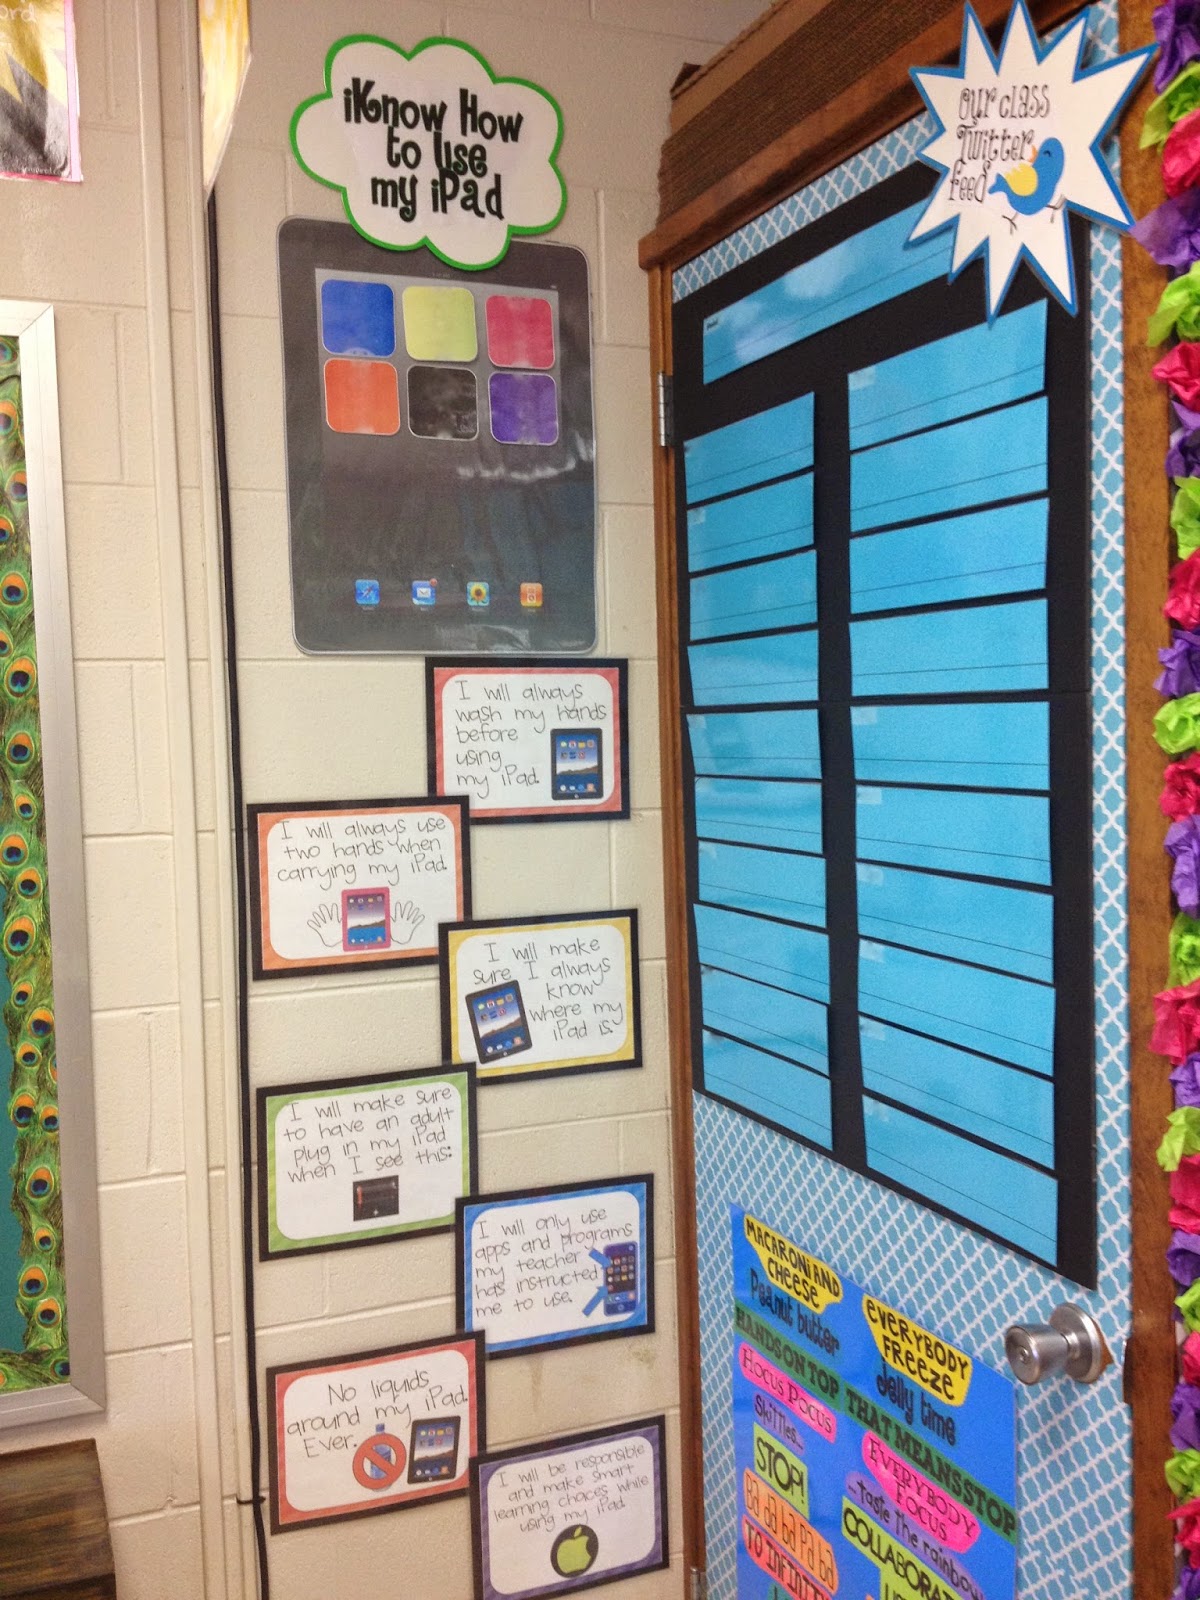
A few years ago, I wrote and received a classroom grant to get a small group set of iPads. Each iPad has a different color case, which is how I manage their use in my classroom. Each student is a assigned a specific color iPad, so I know that if there is a damage or malfunction, I can easily determine which students were using that iPad. I created a large iPad poster in my room and designed little squares that affix onto the poster with Velcro. (The idea is that the squares look like apps. I know the proportionality of size is off, but I had to make them large enough to be able to read student names, which I've blurred in this photo.) Beneath that iPad assignment poster are our classroom rules for iPad use, which I found on Pinterest from another blogger. She even created the iPad Acceptable Use Policy that matches these rules. Every fall, my students and I discuss these rules as part of our introductory procedures lessons. We talk about each rule and make sure everyone understands and then we sign the agreements in pens, just like grown-ups do! They love it, and they take those rules seriously! If someone forgets, they are quick to remind each other before I ever have to say a word!
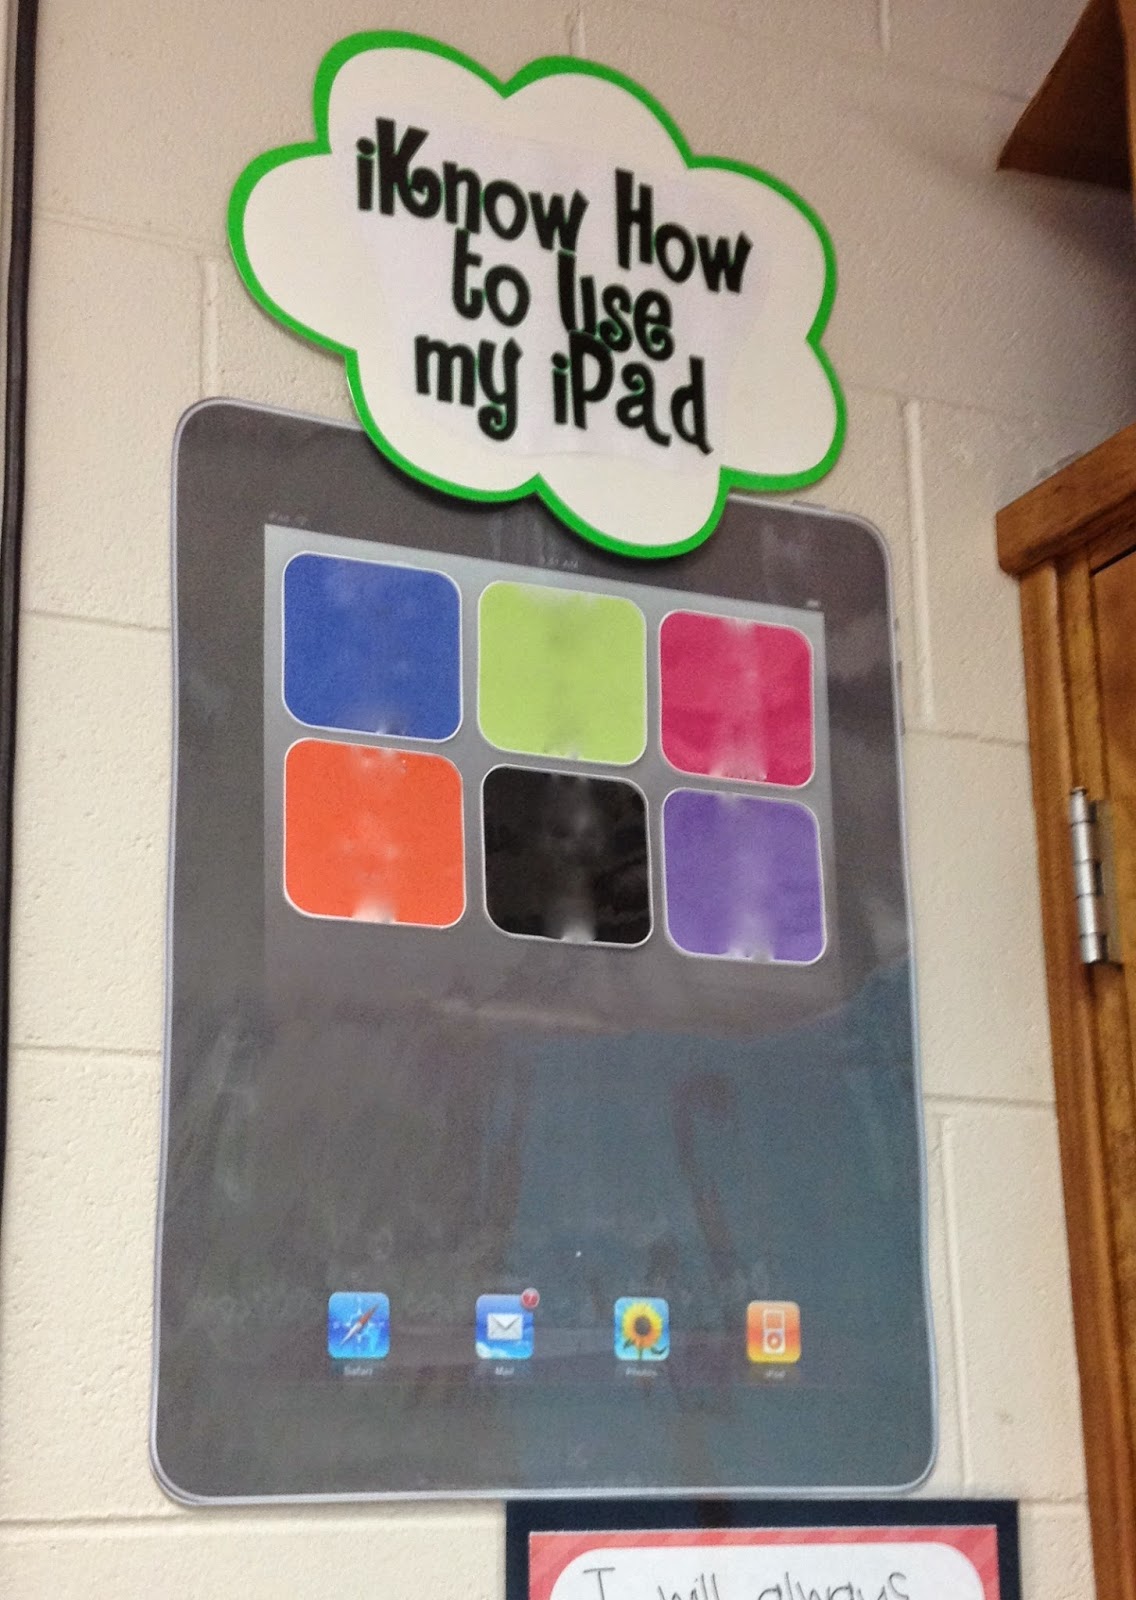 |
| The iPad assignment poster has each student's name assigned to a specific color so they know which iPad is theirs to use for the year. |
.jpg) |
| My iPad rules are posted beneath the iPad assignment poster. |
Our Class Twitter Feed
As part of teaching summaries and integrating technology into our daily routines, I developed a classroom Twitter feed for my students. We talk about expressing what's on our mind in short, articulated phrases and how we would go about sharing that on social media (when we're old enough to actually have accounts, that is). In the meantime, we practice that art on our classroom Twitter feed. We talk about hashtags and abbreviations too to get a very authentic Twitter experience!
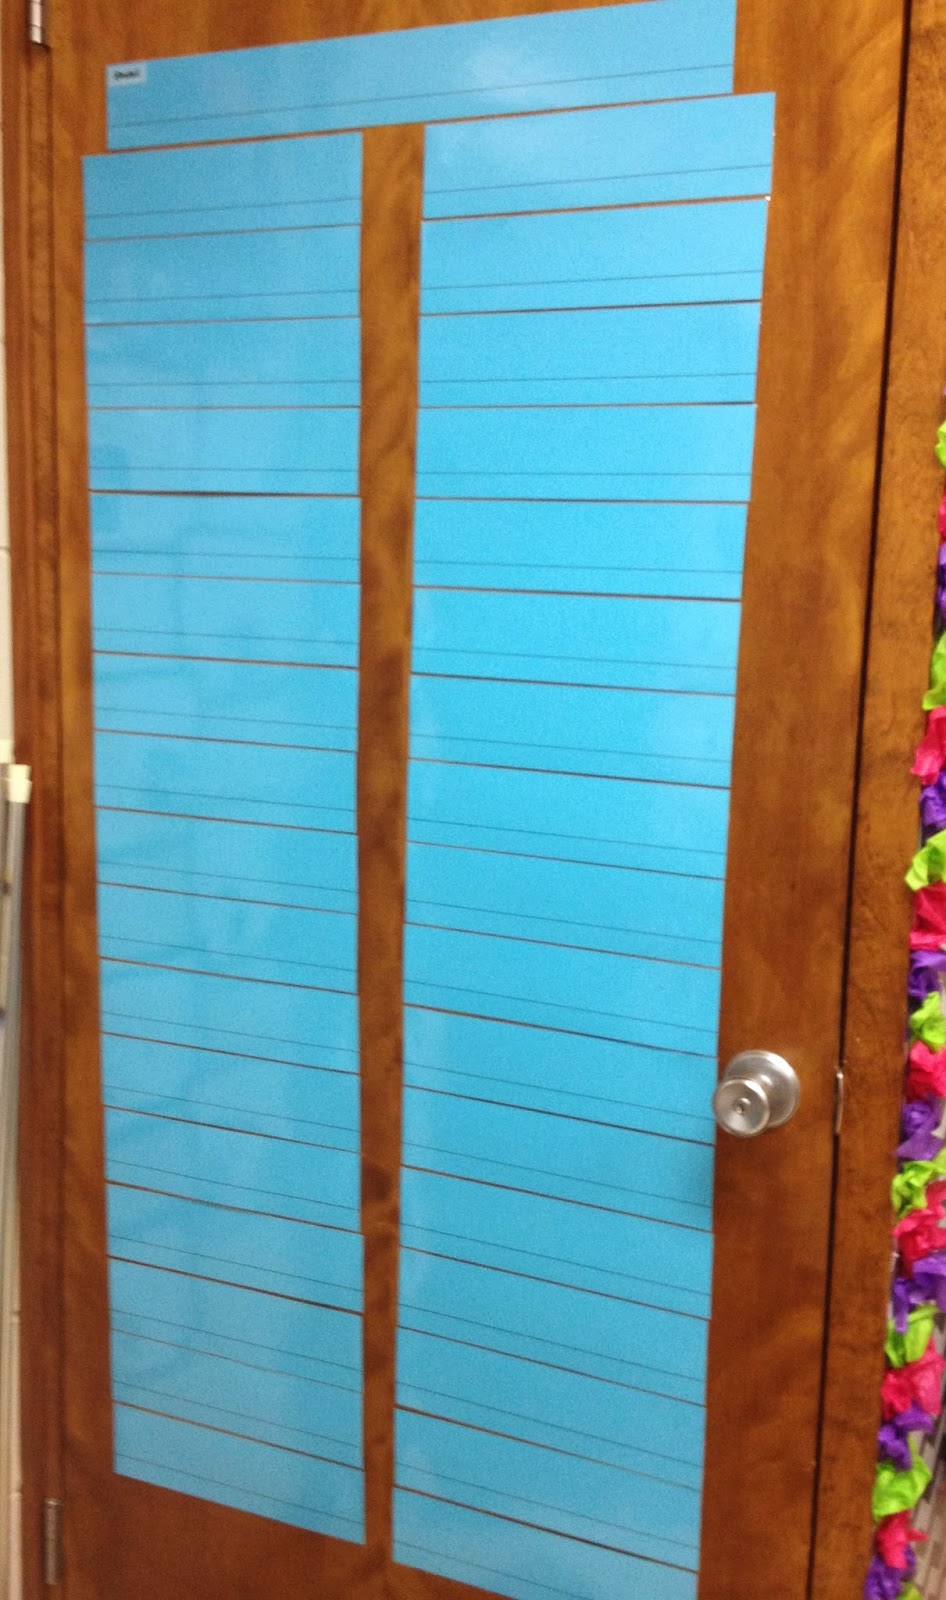 |
| This was my Twitter feed before I redesigned my door this year. It's kind of BLAH! |
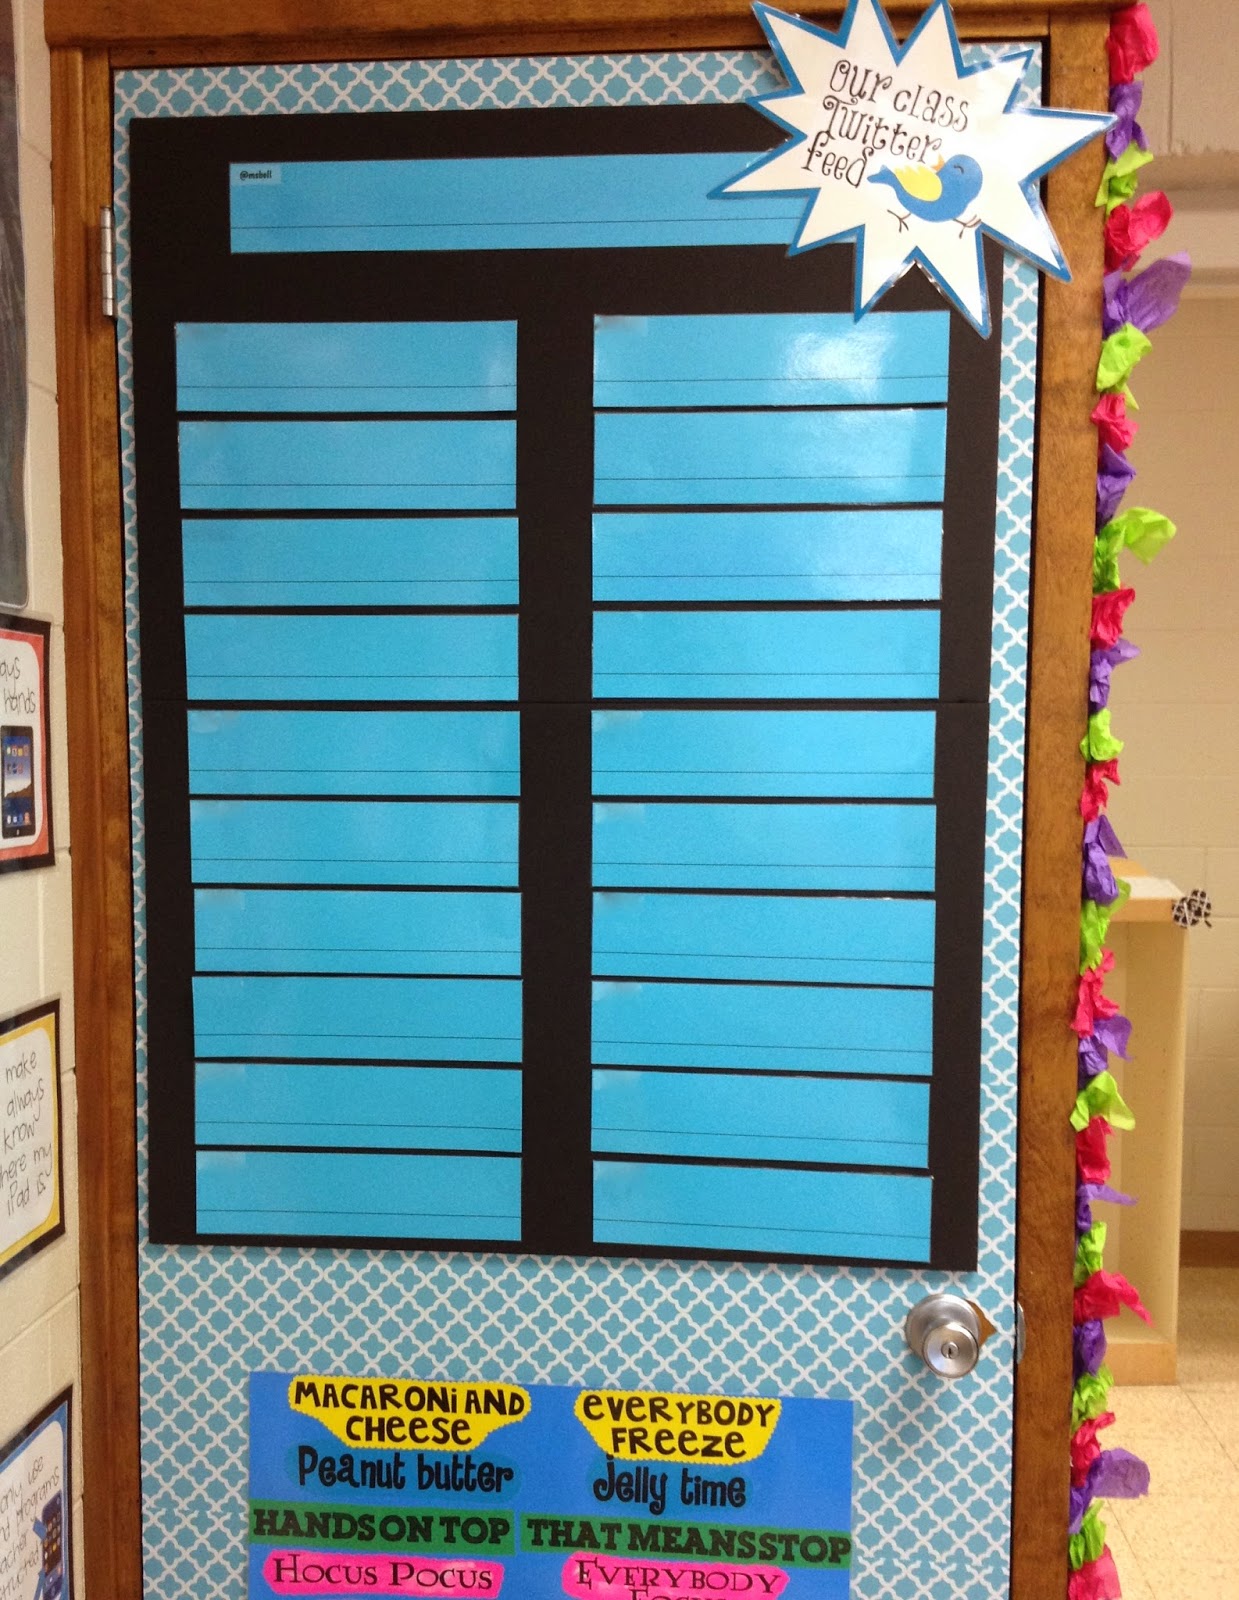 |
| Yay! Here's the new Twitter feed, complete with a freshly designed door! I think the black posterboard makes it pop, but I just hope it's durable through the year! I used a LOT of MAH-valous tape! |
My WIDA Wall
If you haven't already figured it out, I'm an ESL teacher. Alabama is a member of the WIDA consortium, and they have five English language development standards that we target in ESL. I made posters of each standard and have these as a bulletin board that stays up in my classroom. I can easily have students refer back to it to determine which standard we are addressing in our lesson for the day. This bulletin board is over my sink area in the classroom, so please excuse the soap and paper towels, etc. in this shot!
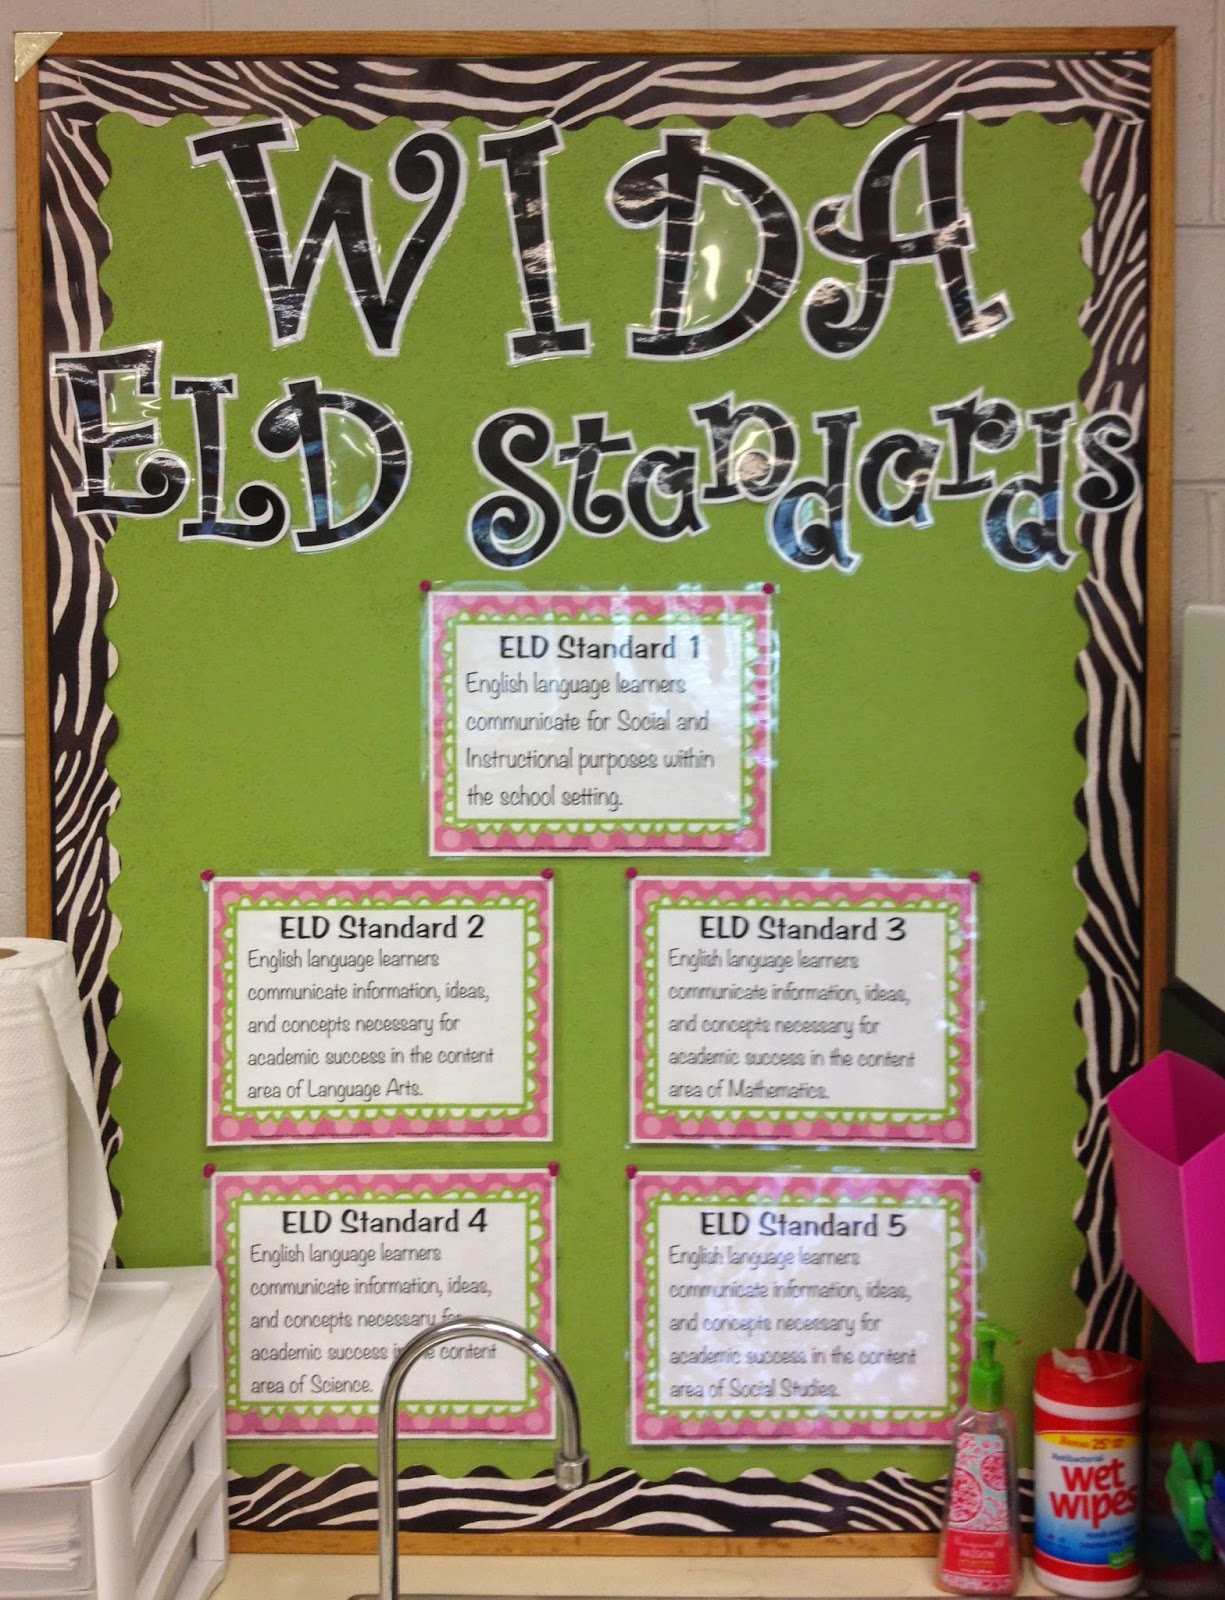 |
| My WIDA Wall has mini-posters of the five English language development standards. |
My Classroom Library
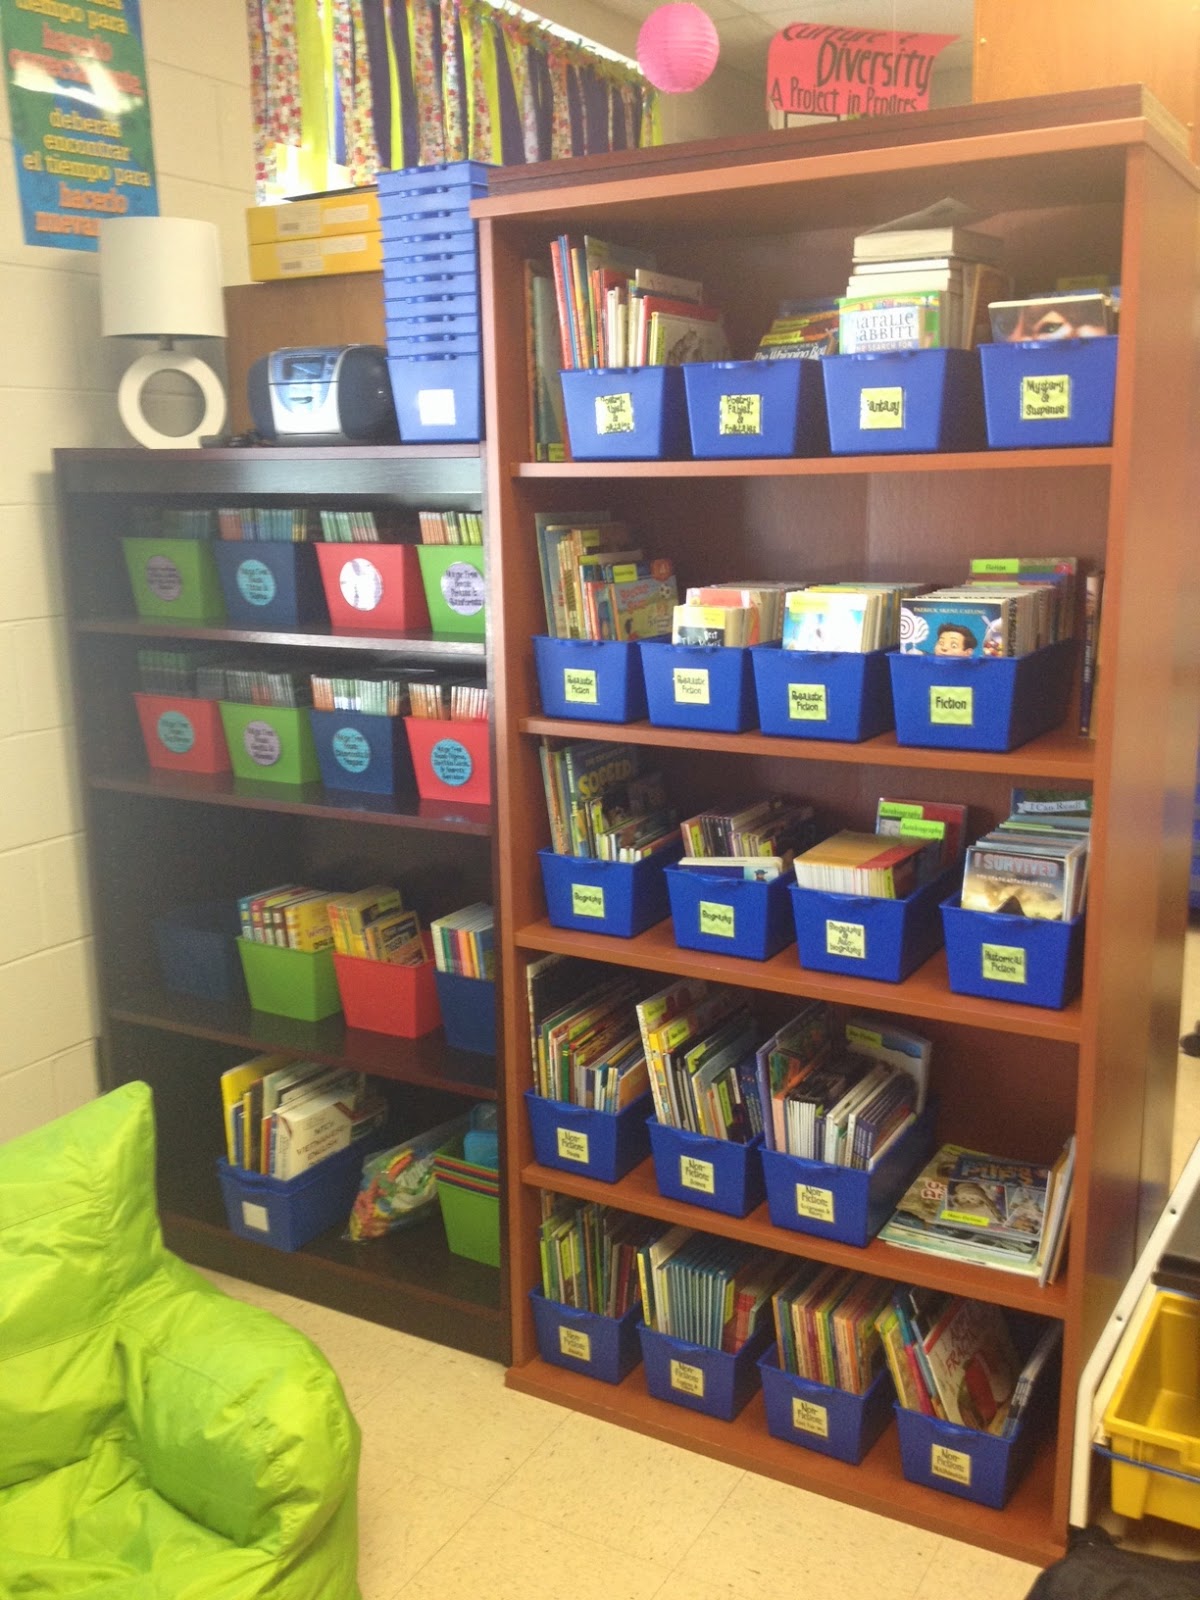
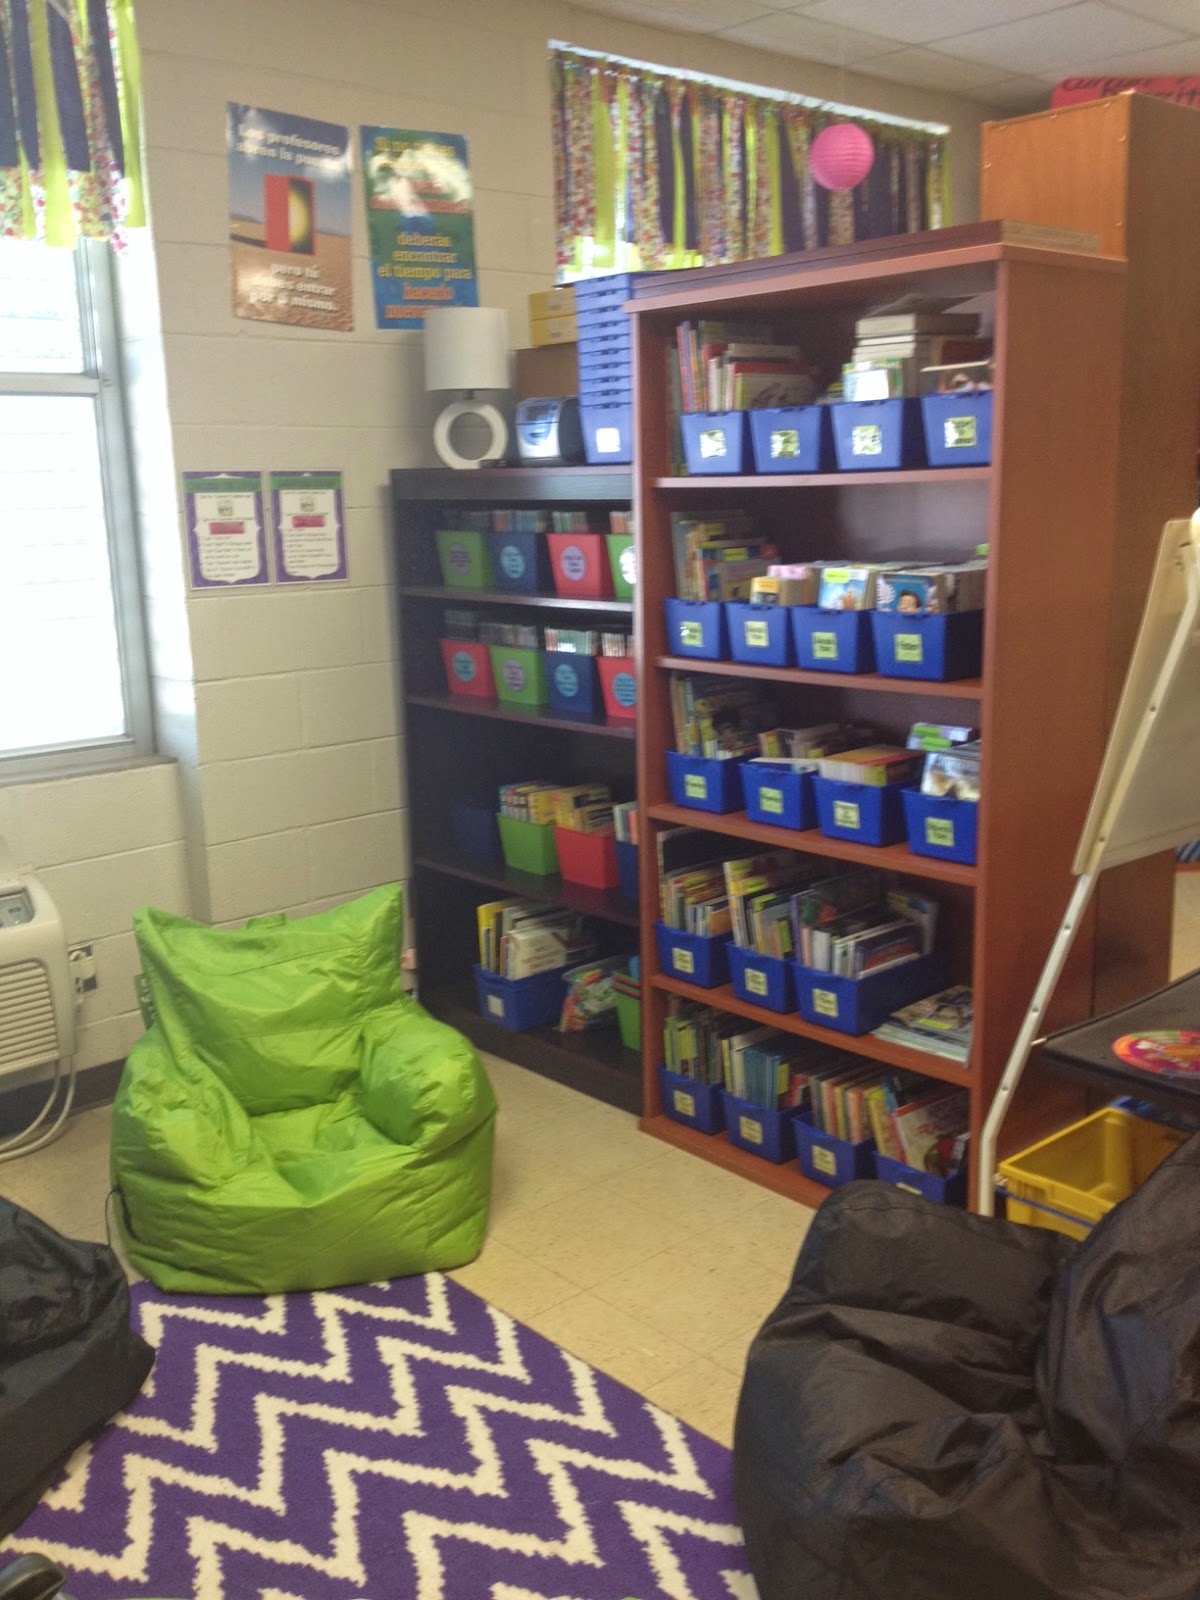
I have this little bulletin board in my classroom library area to share genres and text features for my readers. See my previous post to find out more about my word usage on this bulletin board! I also included photos below of our classroom library. We've gotten SO many new books in the past two years, all because of awesome grants we've received for our classroom. We fulfilled one using Donors Choose, another from Mary Pope Osborne's Classroom Adventures Grant, and yet another from Target! Now we have new books, classification tubs, and an amazing reading nook in our classroom complete with comfy bean bag chairs!
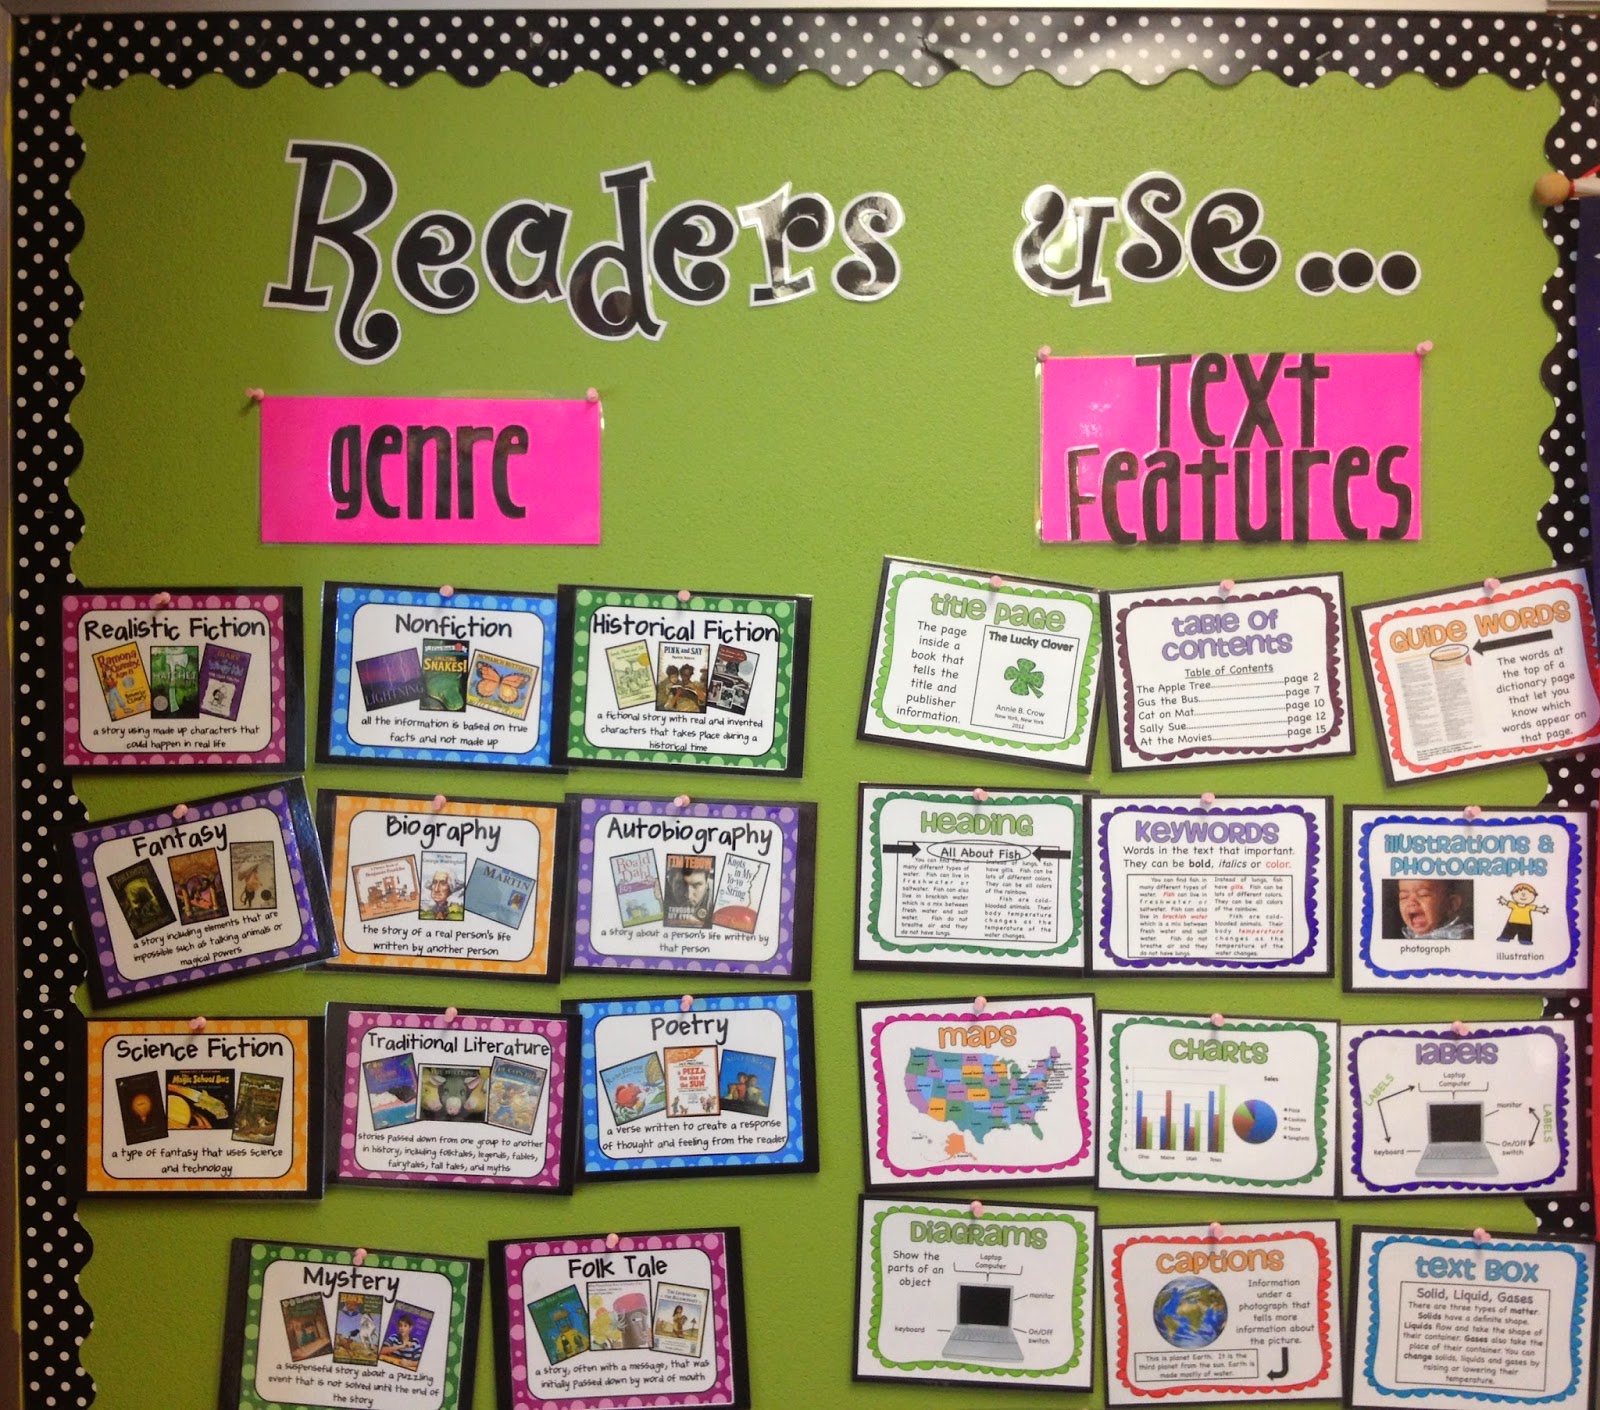 |
| This bulletin board reminds students about genre and text features. |
.jpg) |
| I have a little more sorting to do, but it's almost ready. |
.jpg) |
| Here's our cozy little reading nook. We love our bean bag chairs! |
Student Spaces
I painted a long bookshelf in two-tones (the back in lime green and the sides and front in black) and stacked it with alternating colors of crates. My students have a pack of supplies ready to go when they come to my room. They keep their journals, work in progress, books, etc. in their cubby so they know where all their materials are at all times. I also believe it's important that each student feels "at home" in his or her classroom, so it was important to me that all my students have a space in my room that they can call their own.
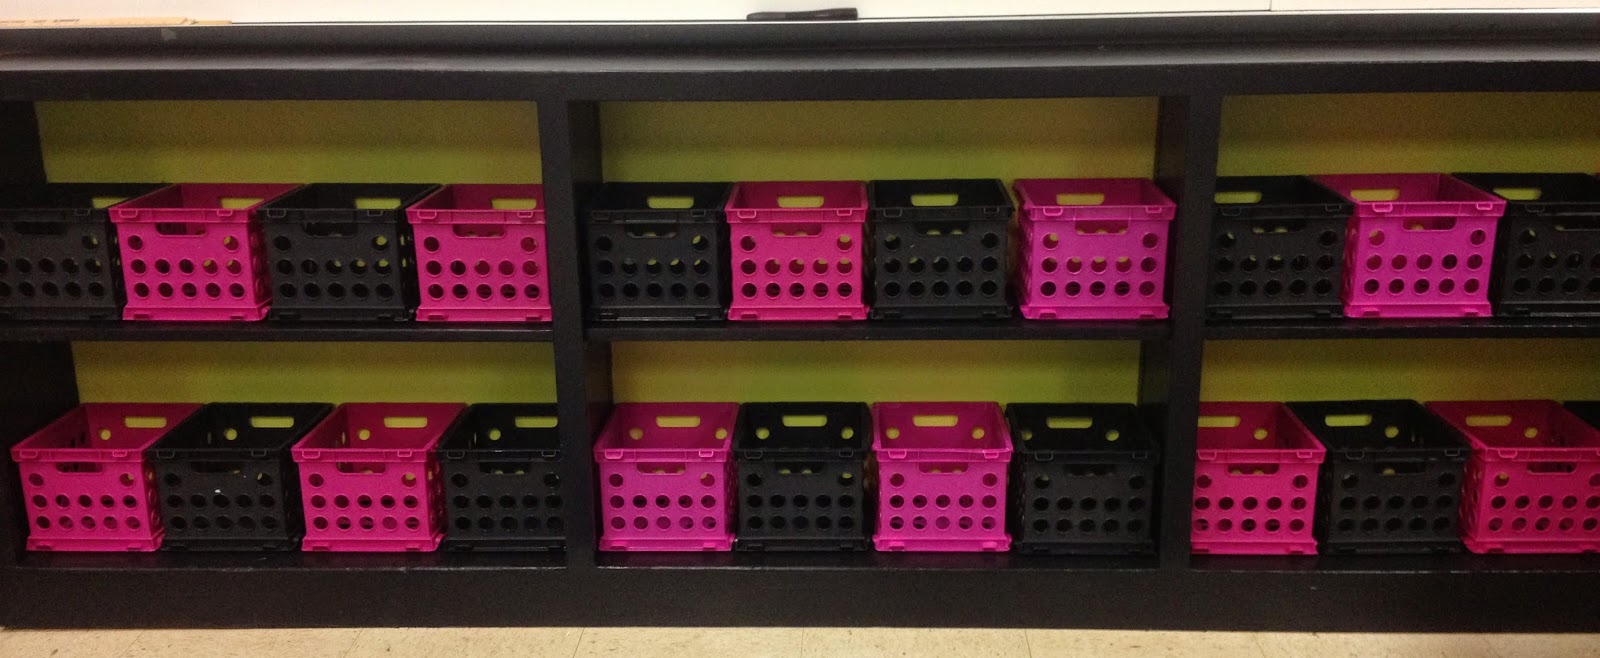 |
| You can really tell the two-tone colors in this shot before I filled up the crates. |
 |
| Here's an idea of how it looks when we start filling up our cubbies! |
Word Wall
As a language teacher, I place a GREAT focus on words and vocabulary. I think it is every teacher's responsibility to make sure that students understand the vocabulary we are using in class and not to take for granted that our students know what we're saying. This is true for native English speakers and English learners! Everyone benefits from focused vocabulary instruction. It's also essential, particularly for ELs, that vocabulary is posted around the room. We shouldn't have an overwhelming classroom design, but we should have print-rich classrooms. Vocabulary should always be posted in the same place so that students have the procedure/routine of looking in the same place for unknown words. In addition to our class vocabulary wall, each of my students has his or her own personal word wall in our journals and/or writing folders. Words that we use most frequently always go up on the class word wall, but words that have specific meaning to a student can go on his or her individual word wall.
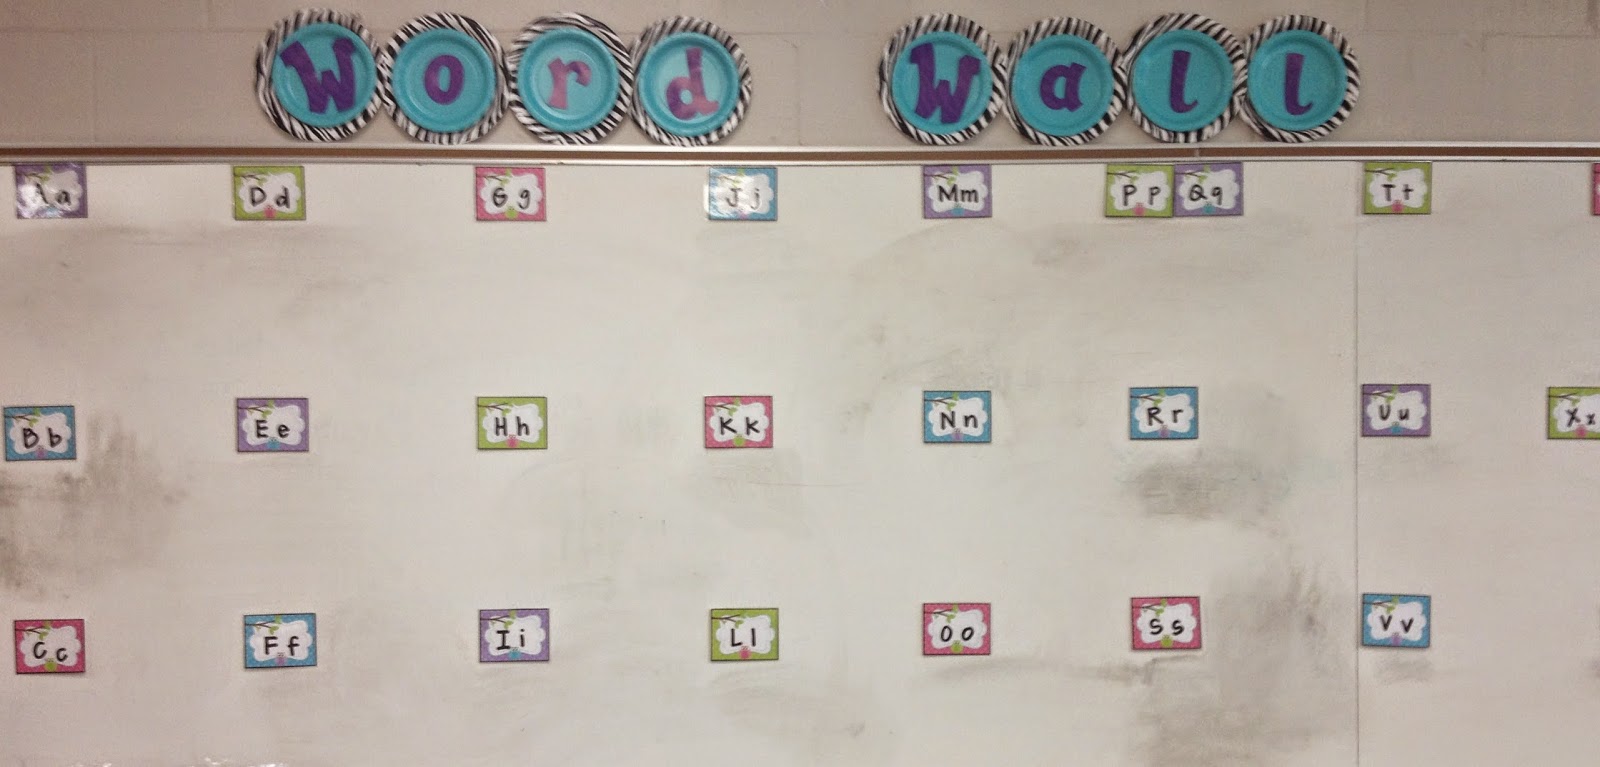 |
| I'm giving my word wall a makeover in the days to come, so I don't have that photo quite ready for you yet. But this is how it looked last year, and you can get a good idea of how we utilize this space. By the time we fill it with words, it definitely needs a good cleaning! |
My Space
No pun intended, but this is "my space"! I found these little drawer organizers at Burke's Outlet last year and HAD to have them. It's approximately the same now as when I took this shot, but I have definitely added a few more things to the doo-dad pile inside!
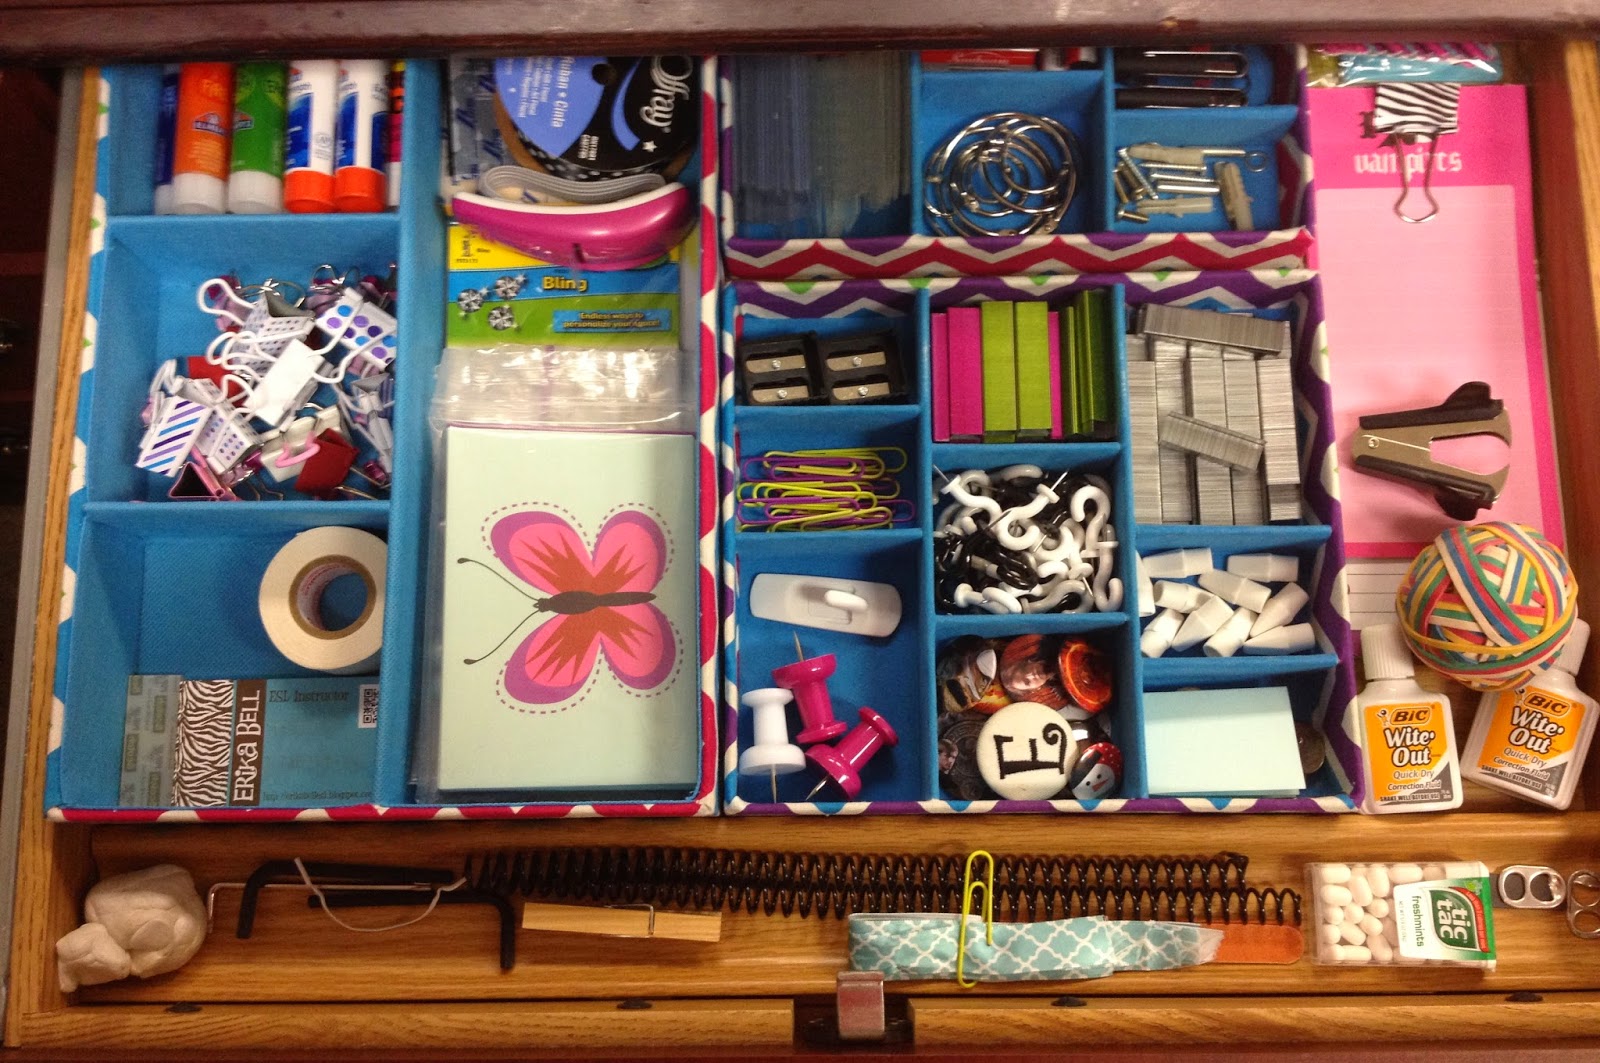 |
| I was so excited to put my little teacher-y things
into each little compartment. It sure doesn't take much to make us
happy, huh? |
Thanks for stopping by my room, and remember to visit again soon for more pictures!


Love what you have done. The OWLs are adorbs!
ReplyDeleteSarah
Kovescence of the Mind
Thank you, Sarah! I absolutely love how they turned out! I wish I had more time to make them individually. Thanks for stopping by my blog today. :)
Delete